Set up Call Recording
Article 000002154 · Updated Oct 9, 2025 · 17,122 views
| Call recording allows for a user's calls to be recorded under chosen situations. Recorded calls will be stored for 6 months (more if extended storage is purchased) and will persist even if the user is deleted or deactivated until past the storage date. | |
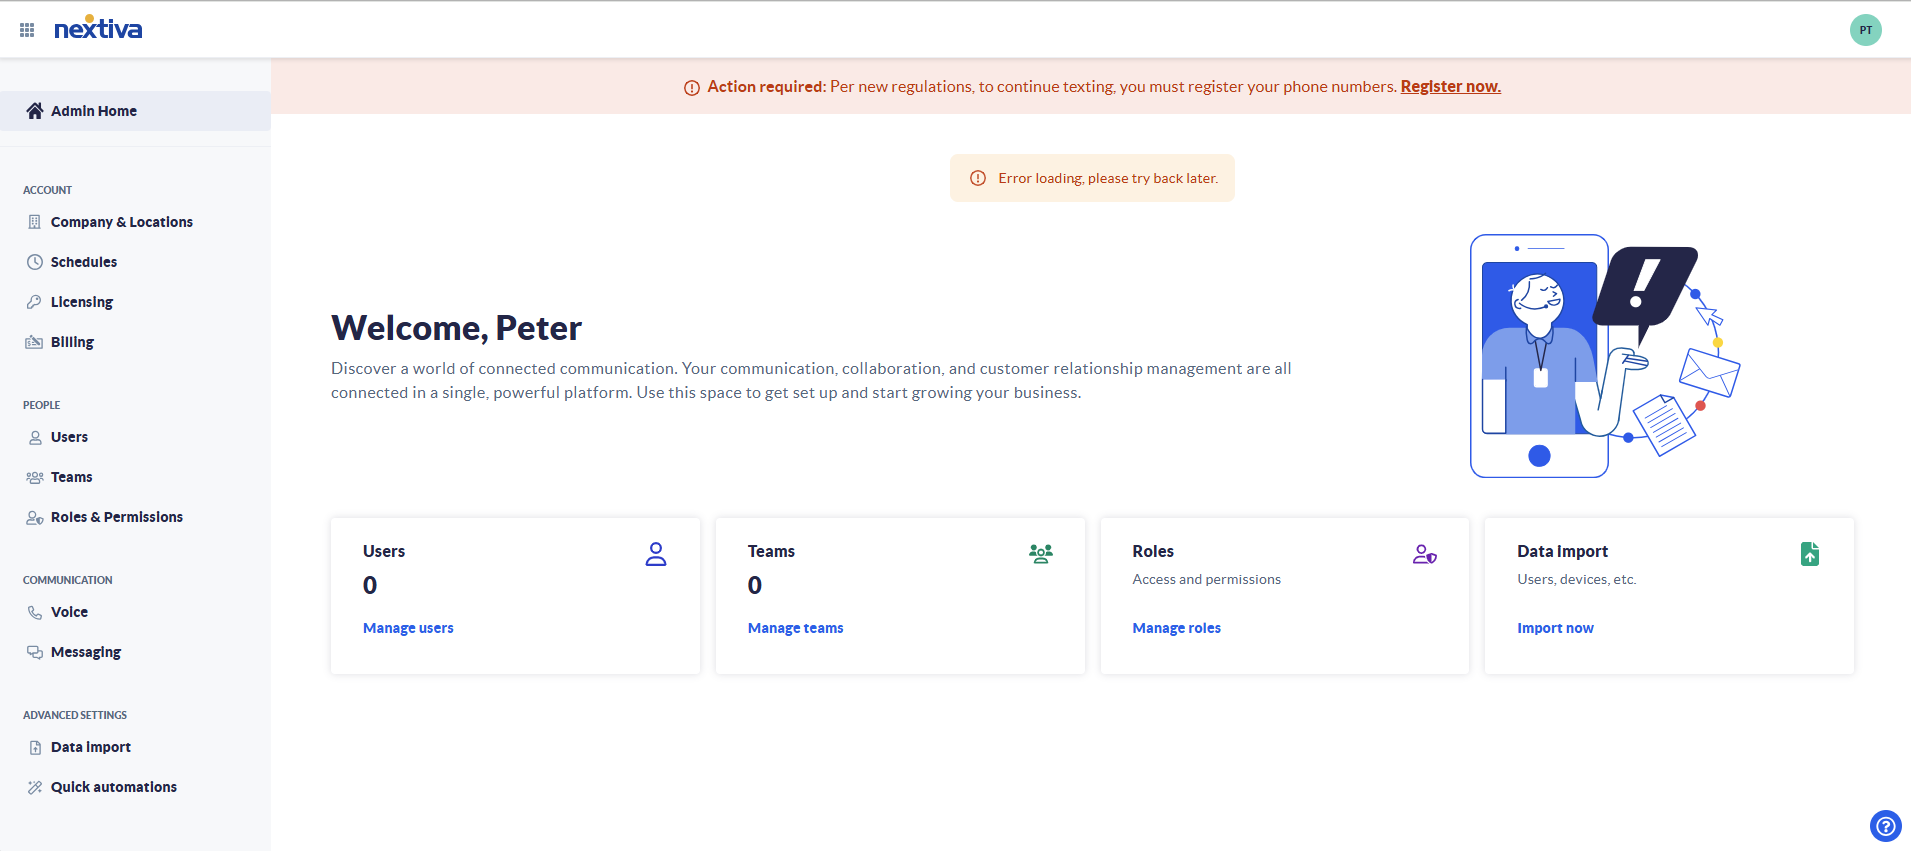
Choose the image that looks most like your screen once logged in: | |
 |
Setup
- Ensure the user has a license that includes call recording. The licenses that include call recording are:
- Enterprise
- Ultimate
- Core - With the addon purchased
- Engage
- Power Suite
- Enterprise
- Navigate to the user’s voice settings.
- Click Monitoring.
NOTE: If the user's license does not include call recording, the feature will be greyed out with a key image next to the toggle. Double-check the license assigned to the user and ensure they have the call recording service.
- Click on Call Recording to set:
- Select recording mode from the Record Calls dropdown menu.
- Always - Every call will be recorded
- Always with Pause/Resume - Records the entire call, allowing feature access codes to pause and resume recording. Click for instructions
- On Demand - Records the entire call if the feature access code to start recording is used. Once recording is enabled, it cannot be turned off. You can use pause and resume to pause parts of the call. Click for instructions
- On Demand with User Initiated Start - Records the call from when the feature access code to start recording is used. You can also use pause and resume to pause parts of the call. If recording is stopped and started again, a new recording file is created. Click for instructions
- Never - Calls will not be recorded at all
- Always - Every call will be recorded
- Other Features
- Play recording start/stop announcement - This setting controls whether both parties hear a message when recording is enabled or disabled.
NOTE: The message that plays cannot be changed.
- Record voice messaging - This setting controls whether voice messages left on the user’s voicemail box are recorded.
- Show call recording controls - This will display or hide the call recording control button on the user's NextivaONE application. Users with their recorded calls option set to always will NOT be able to control their calls.
- Pause/resume notification - This setting controls the type of notification all participants in the call hear when the user pauses or resumes call recording. The options are:
- None
- Beep
- Play announcement
- None
- Repeat record call warning tone every ___ seconds - This setting controls whether and how often a warning tone is played if the call is being recorded. All parties will hear the warning tone.
- Play recording start/stop announcement - This setting controls whether both parties hear a message when recording is enabled or disabled.
- Select recording mode from the Record Calls dropdown menu.
- Click Save to apply the settings for call recording.
Still need help with this?