Creating Users/Administrators and Assigning Licenses
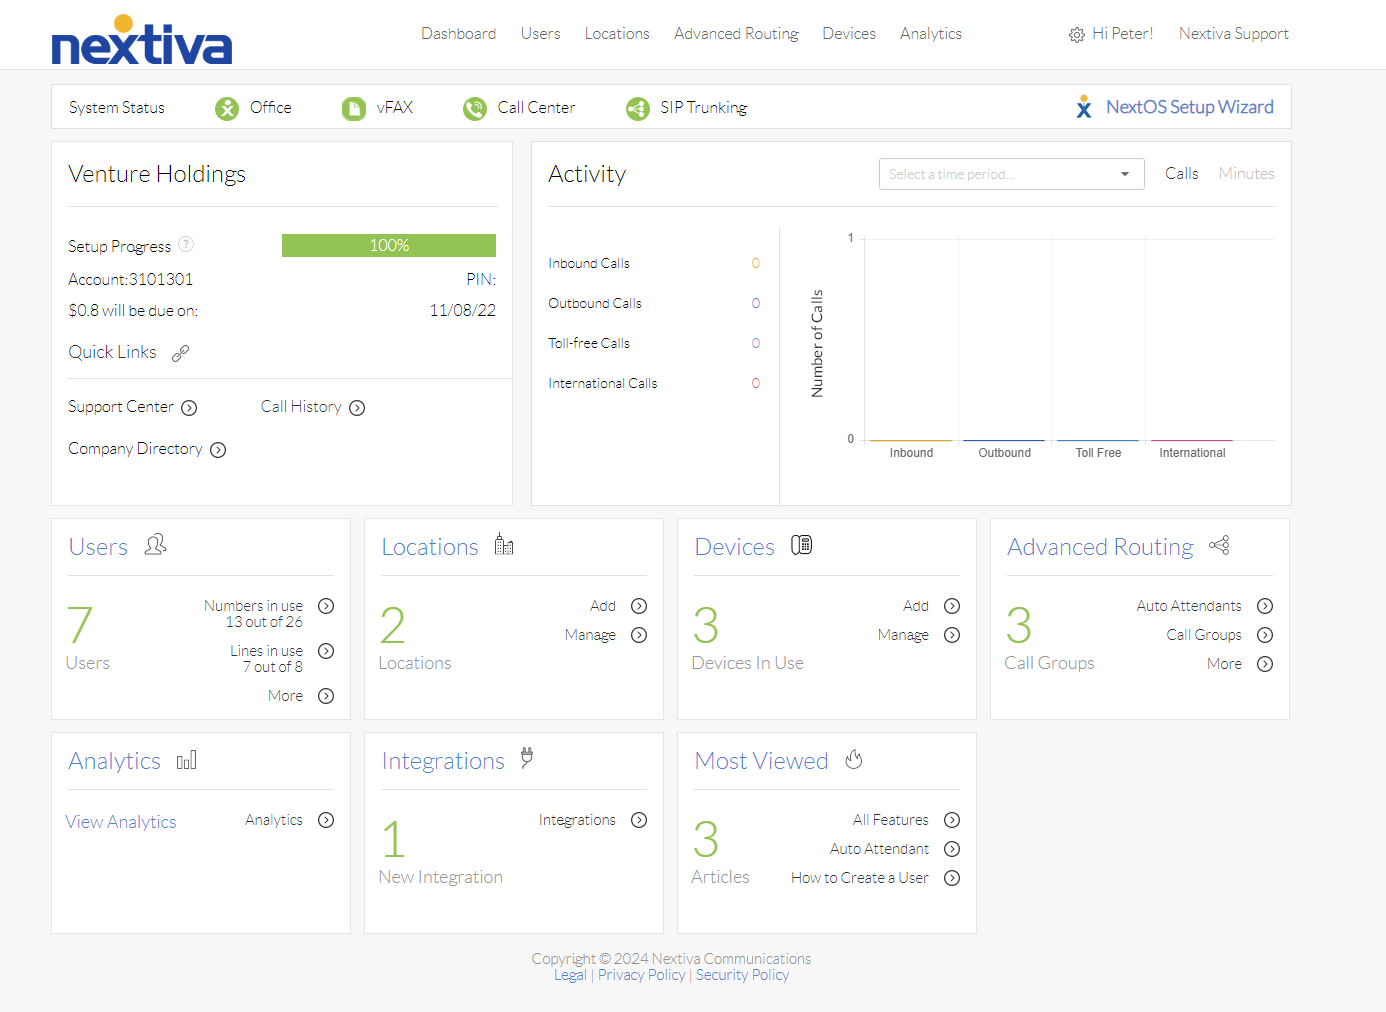
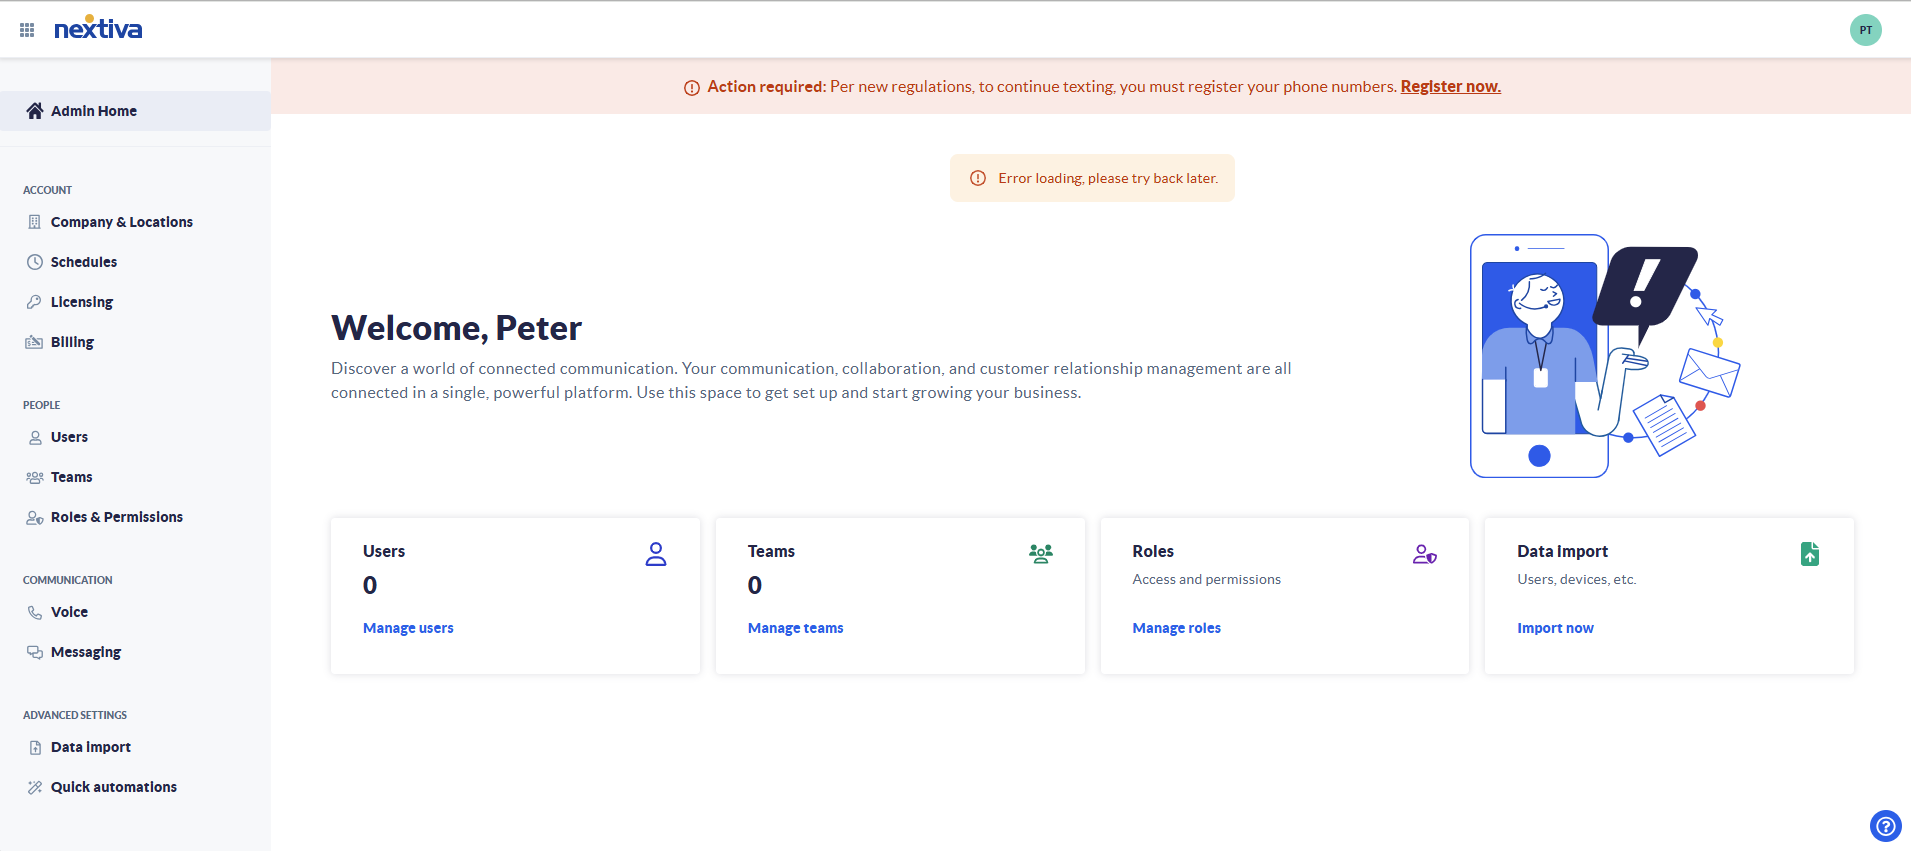
Choose the image that looks most like your screen once logged in: | |
 |  |
User Setup and License Assignment
User/Administrator Creation
Users and Administrators can be created without any licenses assigned to them; however, without a license, the user will not be able to use any features, including making phone calls. The only difference between a user and an administrator is the role assigned during user creation.
- Log in to the platform portal as an administrator.
- From the main page, click Users on the left-hand side.
- Click Add user in the upper right-hand corner.
- Fill out the form to create a user.
- First Name - First name of the user
- Last Name - Last name of the user
- Email - Email address for the user (this will also be their userID for logging in)
- Role - Role the user has regarding permissions. Custom roles can be defined; see the article Roles and Permissions for instructions. Below are the default roles:
- User: Has access to their own voice settings.
- Admin: Has full access to the settings of the entire account.
- User: Has access to their own voice settings.
- Primary Team - The team the user is part of.
- Location - Optional. Used for E911 purposes.
- Time Zone - Optional. Used for schedules within voice settings.
- Licenses - Licenses to give the user access to voice, call centers, and more. Click here for a list of features the base licenses include.
- First Name - First name of the user
- Click Create.
Once a user is created, if they are going to use voice services, you need to complete voice setup for them.
License Assignment
Licenses allow users to access both basic and advanced voice features. If a license was not assigned during user creation, or if you want to add additional features to a user, you can add a license following the steps below. You can also bulk assign users to the same license through license management.
- Navigate to the users section by clicking the Users option on the left.
- Hover over the user to edit, click the vertical ellipses, and select Edit Profile.
- Scroll down in the edit pane that opens to the license section and choose Add License.
A list of licenses will appear to select from. Anything in grey text is fully assigned. Anything in black can be assigned.
- Select a license to assign to the user. Click here for a list of features the base licenses include.
- If additional licenses are needed, return to step 3.
- Once all licenses are assigned, click Save.
After licenses are assigned to a user, if they are going to use voice services, you need to complete voice setup for them if not already been completed.
License Features
Below is a list of some common features included in each base license type.
| Basic | Essential | Professional | Enterprise/Ultimate | Core | Engage | Power Suite | |
|---|---|---|---|---|---|---|---|
| Voice Service | X | X | X | X | X | X | X |
| Multiple Devices | X | X | X | X | X | X | |
| NextivaONE Application | X | X | X | X | X | X | |
| Texting | X | X | X | X | X | ||
| Call Recording | X | X | X |
Voice Setup
Once a user has been created and has a license assigned, the voice setup needs to be completed.
- Click the vertical ellipses on the right side of the screen on the same line as the user to configure.
- Click Voice Setup.
- Choose a location for the user's voice account and click Next.
- Choose if the user is working from home or in the office.
- If working from home, provide an E911 address for the user's home address.
- If working from home, provide an E911 address for the user's home address.
- Choose a phone number and extension for the user.
- If desired, assign an offline forwarding number. Calls will be forwarded to this number if user's devices are offline.
- Click Next.
- If you have a physical phone choose Yes, set up device.
- Choose if the device was purchased from Nextiva
- If purchased from Nextiva choose the device from the device list, if not, select the model device from the list.
- If not purchased, enter the MAC address of the phone and click Next.
- For devices not purchased from Nextiva, copy the provisioning URL and paste it into the phone's provisioning section.
- Click Continue.
- Choose if the device was purchased from Nextiva
- If desired, record a voicemail greeting and click Finish.
Remove License
If a user no longer needs a particular license you can remove it from the user. The license would then be available to assign to another user.
Be aware that removing the voice license from a user will cause all their voice settings and greetings to be deleted. Also, removing ALL call center licenses from users on a location will cause all call centers built on that location to be deleted.
- Log in to the platform portal as an administrator.
- From the main page click Users on the left-hand side.
- Hover over the user to edit, click the vertical ellipses, and select Edit Profile.
- Scroll down to the license section and click Remove.
- If you are removing a voice license, a warning will appear advising that once saved, all voice data will be lost.
- Click Save to confirm.