NextOS Call Center: Outgoing Call
This feature is only available for premium call centers, requiring a call center enterprise or power suite license.
Configure the DNIS for Outbound Calls
Before an outgoing call can be made, the DNIS in the call center needs to be configured to allow outgoing calls. If you do not have DNIS set up on your call center, please refer to NextOS Call Center: Setup DNIS for instructions.
- As an administrator, navigate to the call center. See Accessing Call Centers for how-to instructions.
- Click the Advanced column.
- Click DNIS to configure outbound calling.
- Ensure the option Allow Outgoing Call Center Call is checked.
- Click OK.
Configure Outbound Calling
Each agent will have to go into their profile and configure their outbound phone number. This can be done through either Unity software, Agent or Supervisor Dashboard, NextivaONE, or the user portal.
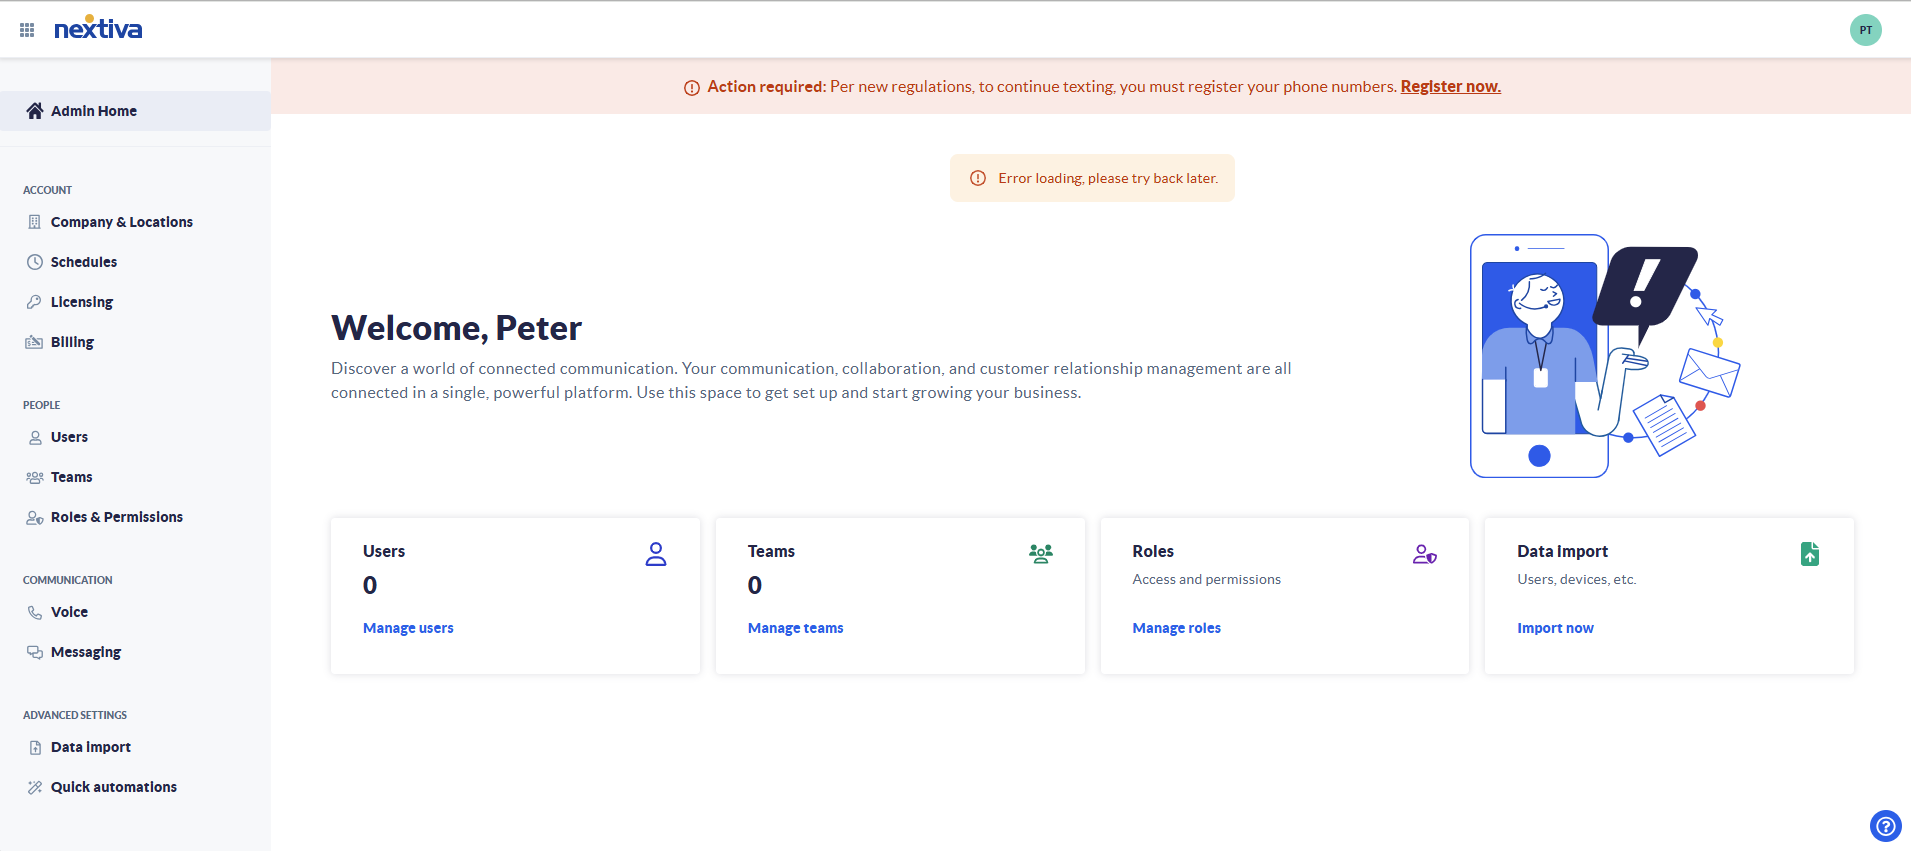
For instructions on how to set the outbound number through the portal, choose the image that looks most like your screen once logged in:
 |
Voice Portal
- Log in to nextiva.com with your user credentials.
NOTE: If you are assigned an administrator role, go to My Profile by clicking on the letter in the upper right-hand corner of the screen.
- Click the Voice option.
- Select Call center.
- Choose the phone number from the dropdown menu.
Voice Portal
- Log in to nextiva.com and choose the option for Voice.
- Select Call Center at the top of the page.
- Check the box next to Alternate Outbound Number and select an option from the dropdown menu.
NextivaONE
- From NextivaONE, click on your avatar in the upper right-hand corner of the application.
- Select My Settings.
- Hover over calls, and select Call Center.
- Select the outbound number from the Outbound Number dropdown.
- The changes are applied immediately.
Agent or Supervisor Dashboard
- From the dashboard, click the Phone icon on the Enter Number field.
- Select the DNIS to use for an outgoing number.
- The number with a checkmark next to it will be used for outgoing calls.
Unity
- Launch the Unity console.
- Right-click on Dial.
- Hover over Change Outbound Number at the bottom.
- Select a phone number to make calls.
- The DNIS with a check mark will be used.
Configure Outbound Calling with Feature Access Codes
You can use feature access codes to change the outbound number when dialing out.
- Dial #80.
- Enter the extension of the DNIS to make an outbound call.
- Wait for the confirmation to finish playing.
- Your line will be configured to make outbound calls as the DNIS.
Disable DNIS outbound dialing
To disable DNIS outbound dialing:
- Dial #81.
- Wait for the confirmation to finish playing.
- Your line will now dial out using its default outbound settings.