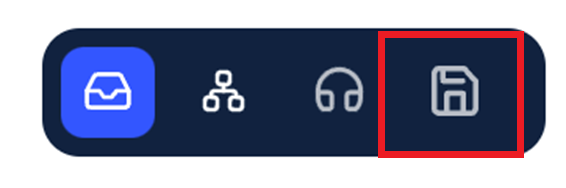
While filtering interactions, the filter can be saved for future quick use.
- To save a filter currently in use, select Save Filter.
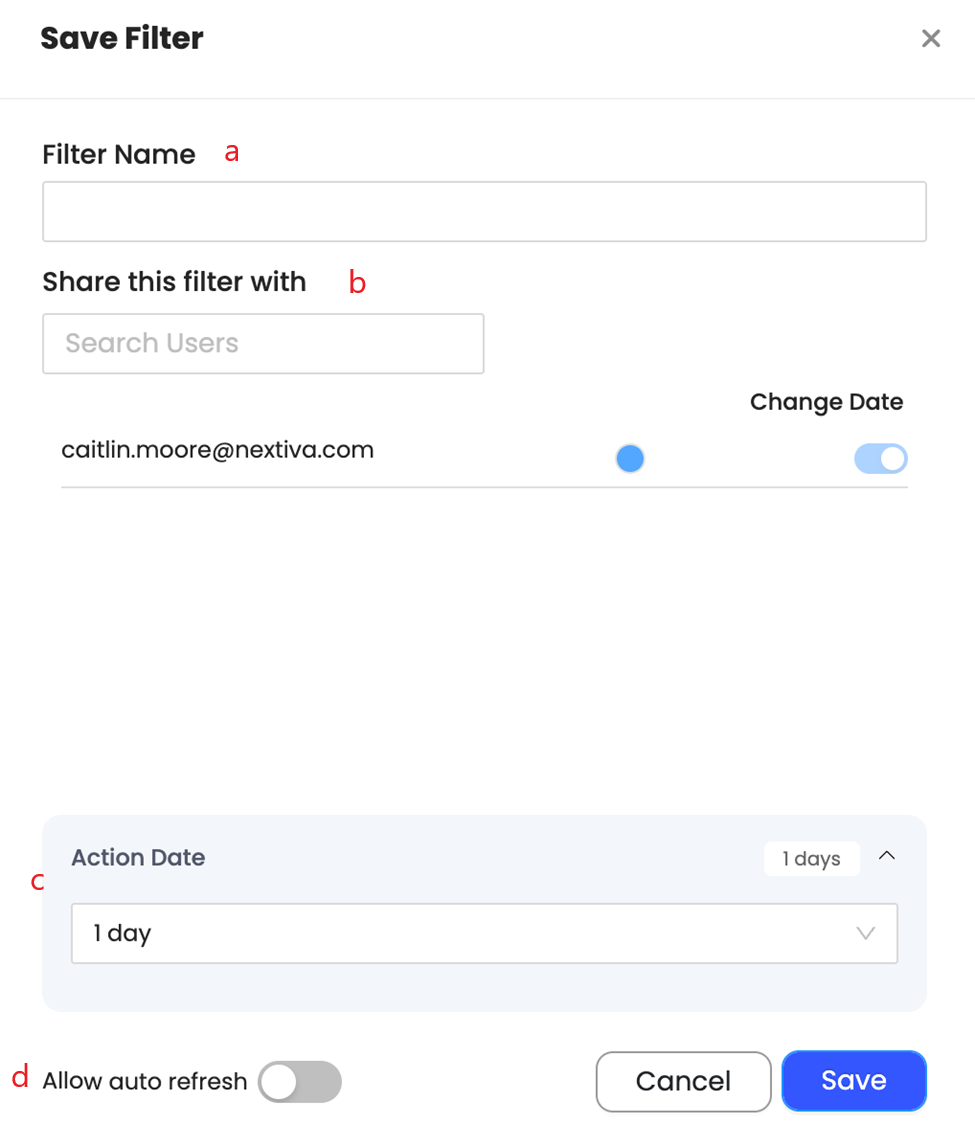
- Complete the details:
- Filter Name: Give your filter a descriptive name so you can easily identify it later.
- Share this filter with: If you want to share this filter with other NextivaCX users, enter their email addresses in this field.
- Action Date: Choose a specific timeframe to filter interactions based on when they were last updated, acted upon, or had a new message created. Use the dropdown menu in the Action Filter to further refine your selection by specific actions.
- Auto Refresh: Toggle this option if you want the filter to automatically update and show new interactions that meet the criteria. If toggled off, the filter will only show the data that existed at the time it was created.
- Select the Save button to save your filter for future use.
|  |
To access saved filters, select the Saved Filter view.