Setting up schedules
Article 000003817 · Updated Sep 30, 2025 · 1,580 views
| Set up a schedule to route calls based on the day and time. For example, add lunch breaks and holidays, so all incoming calls during those times forward to voicemail or an emergency line. | |
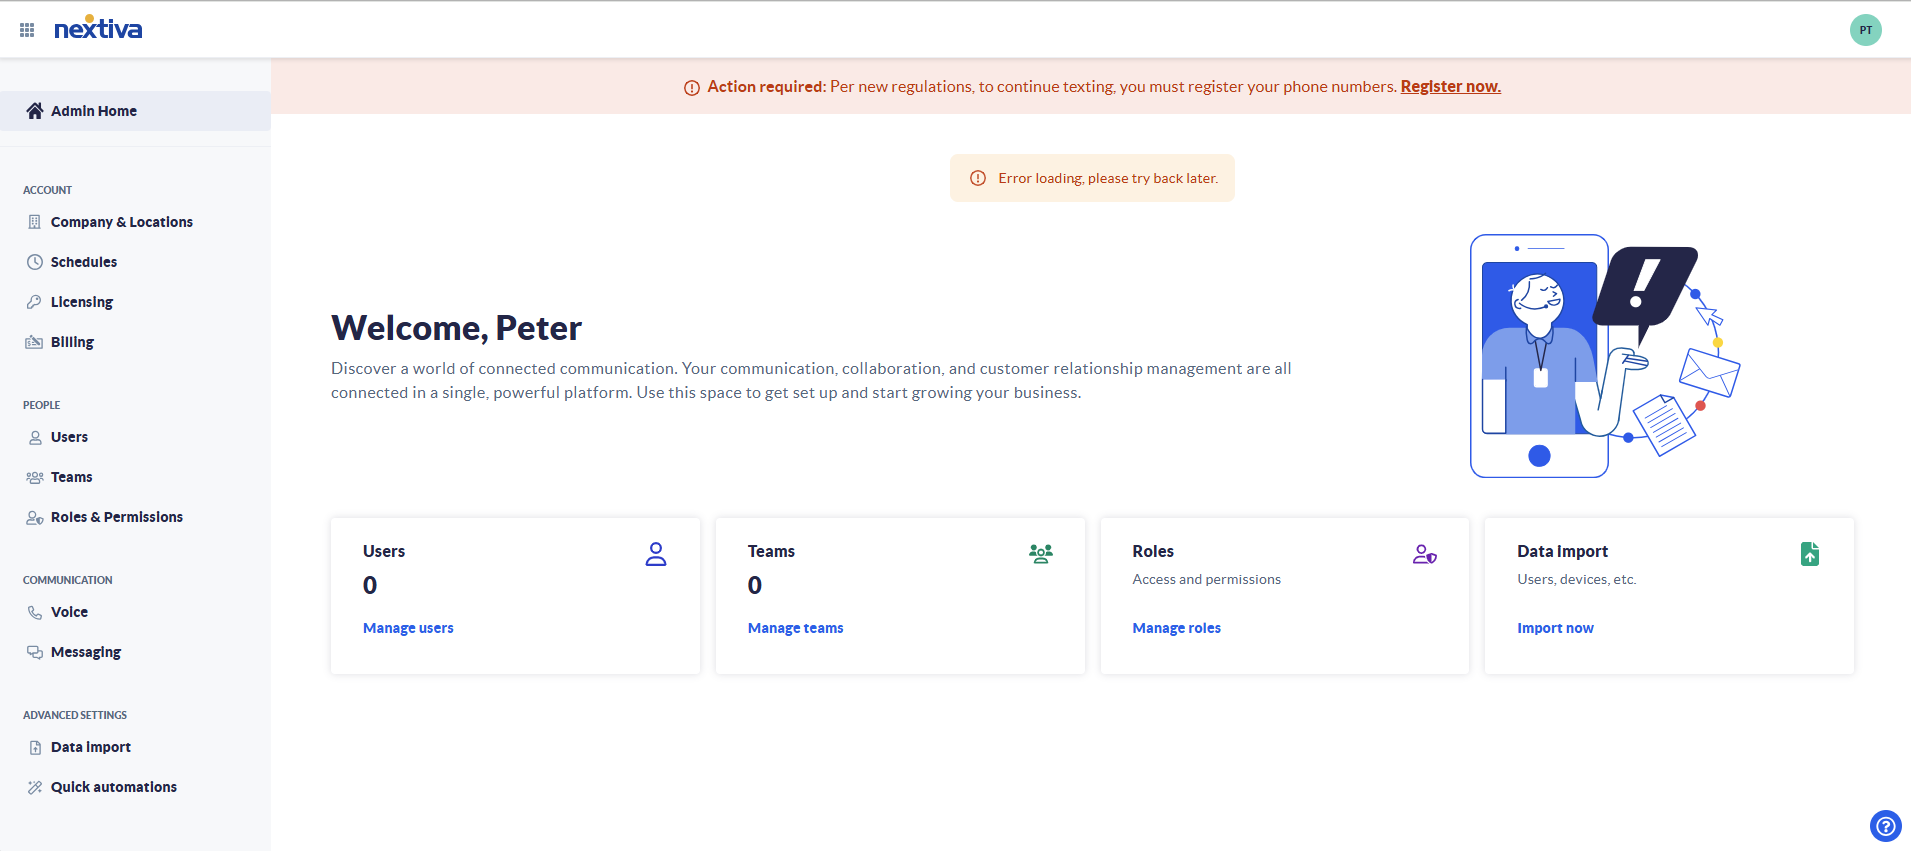
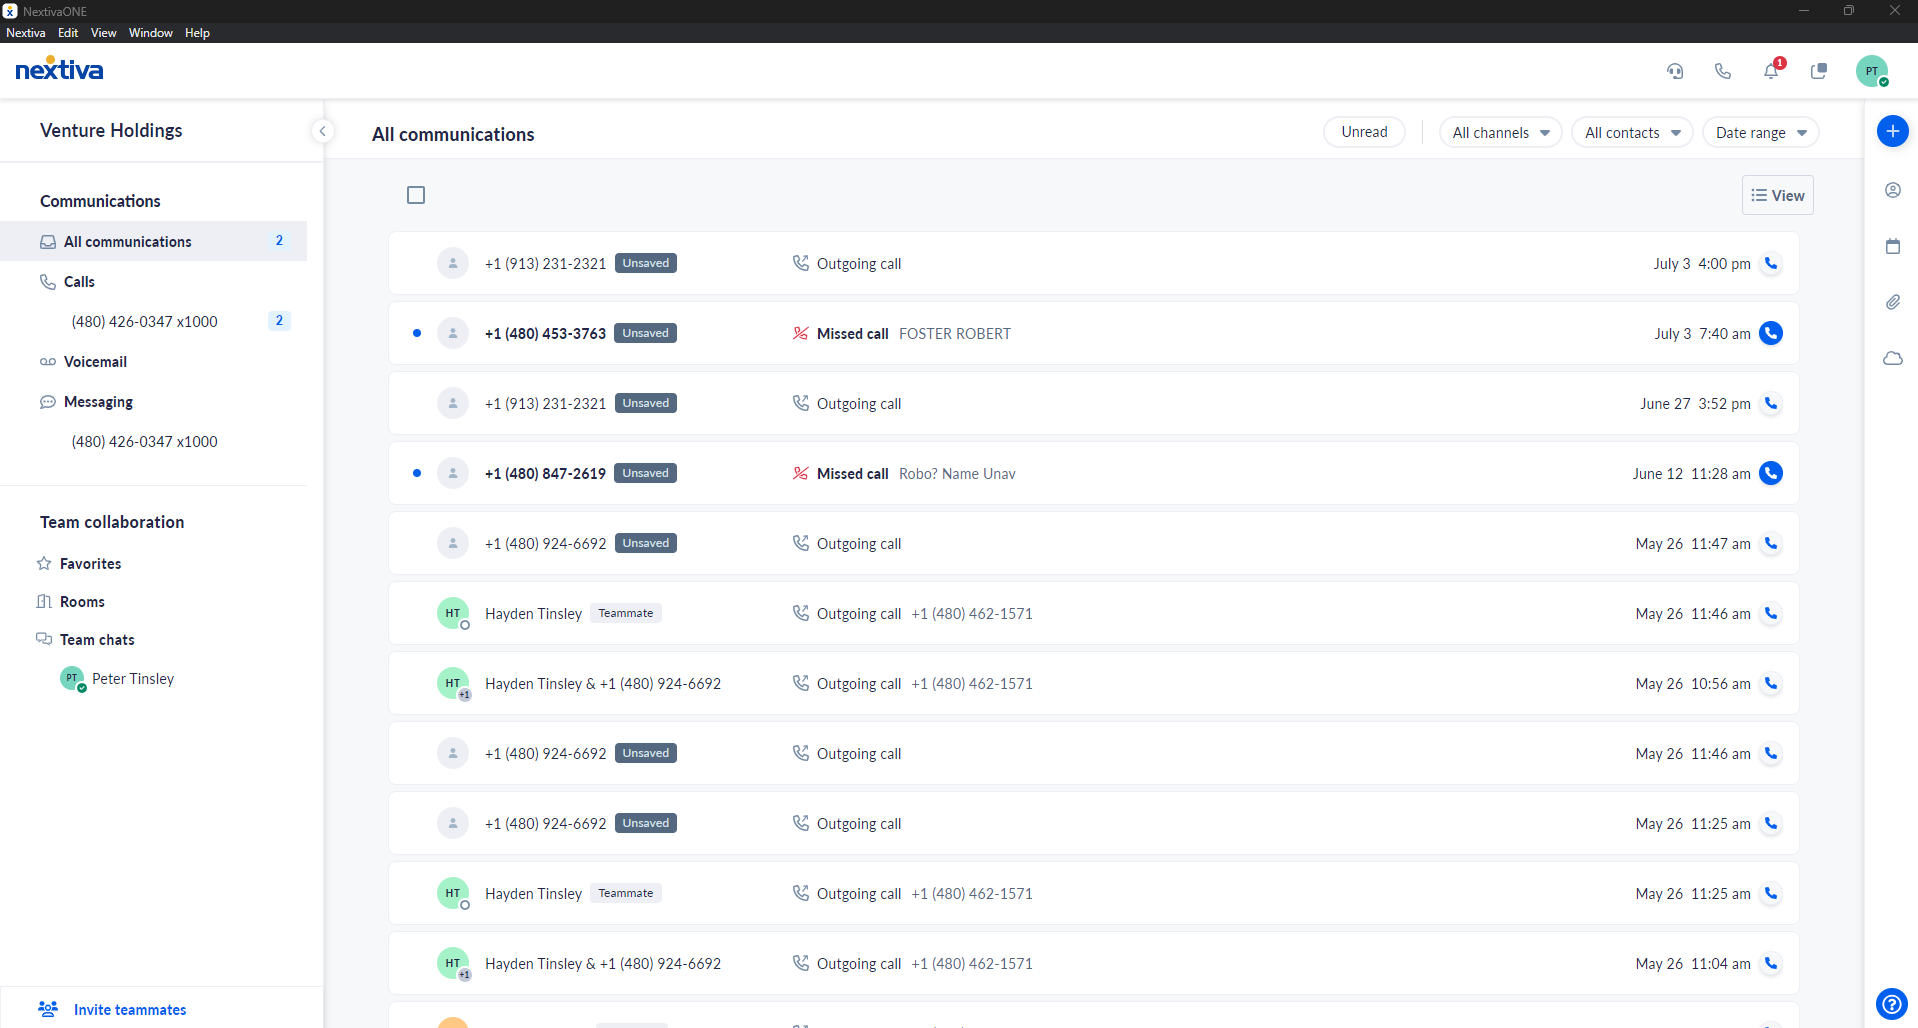
Choose the image that looks most like your screen once logged in: | |
 | |
 |
Setup
Users can manage their own schedules within the NextivaONE application. To create and manage existing schedules
- In the NextivaONE application, click your initials in the upper right-hand corner
- Select My Settings from the menu.
- Select Schedules on the left-hand side of the page.
- Click the Create personal schedule button.
- Enter a name for the schedule.
- Choose the daily hours option:
- Use the same hours Monday - Friday (weekends closed) - Recurring events are the same Monday - Friday
- Always open (24 hours, 7 days) - Schedule is always active. Choose this option if only configuring holiday events.
- Specify hours by day - Set different hours for each day of the week.
- Use the same hours Monday - Friday (weekends closed) - Recurring events are the same Monday - Friday
- Define the daily hours the schedule will operate, up to 5 breaks can be added in each schedule day by clicking the + icon.
- If defining a schedule for specific dates, check the Add holidays and dates that will be excluded from this schedule option.
- Choose the type of holiday
- Observed holidays - Select a federal holiday from the drop-down menu; this will be an all-day event.
- Specified dates - Choose a specific date, by default, this is an all-day event that recurs annually; however you can specify start and end times and number of recurrences.
- Custom dates - Choose an event that repeats based on the day of the week (i.e. the third Friday of June). By default, this is an all-day event that recurs annually; however, you can specify start and end times and the number of recurrences.
- Observed holidays - Select a federal holiday from the drop-down menu; this will be an all-day event.
- Click Add Holiday.
- Repeat these steps for each day you need to define.
- Choose the type of holiday
- Click Save.
Once created, this schedule can be applied to a call forwarding selective rule.
Still need help with this?