Setting up schedules
Article 000003816 · Updated Sep 30, 2025 · 3,644 views
| Set up a schedule to route calls based on the day and time. For example, add lunch breaks and holidays, so all incoming calls during those times forward to voicemail or an emergency line. | |
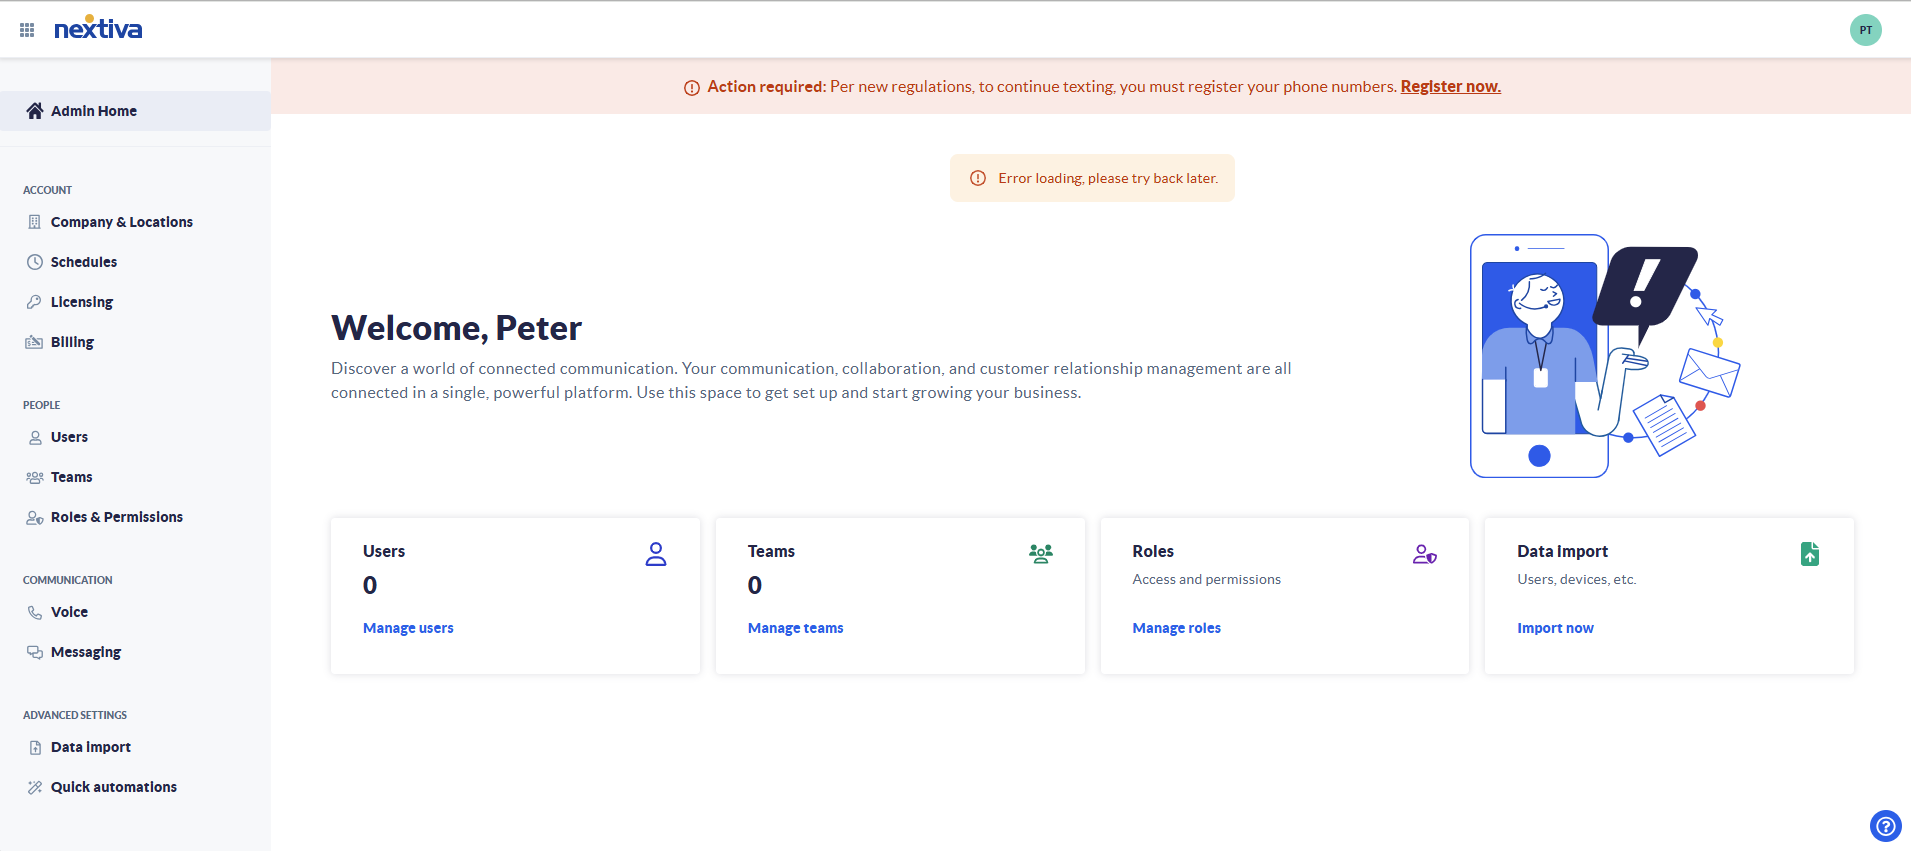
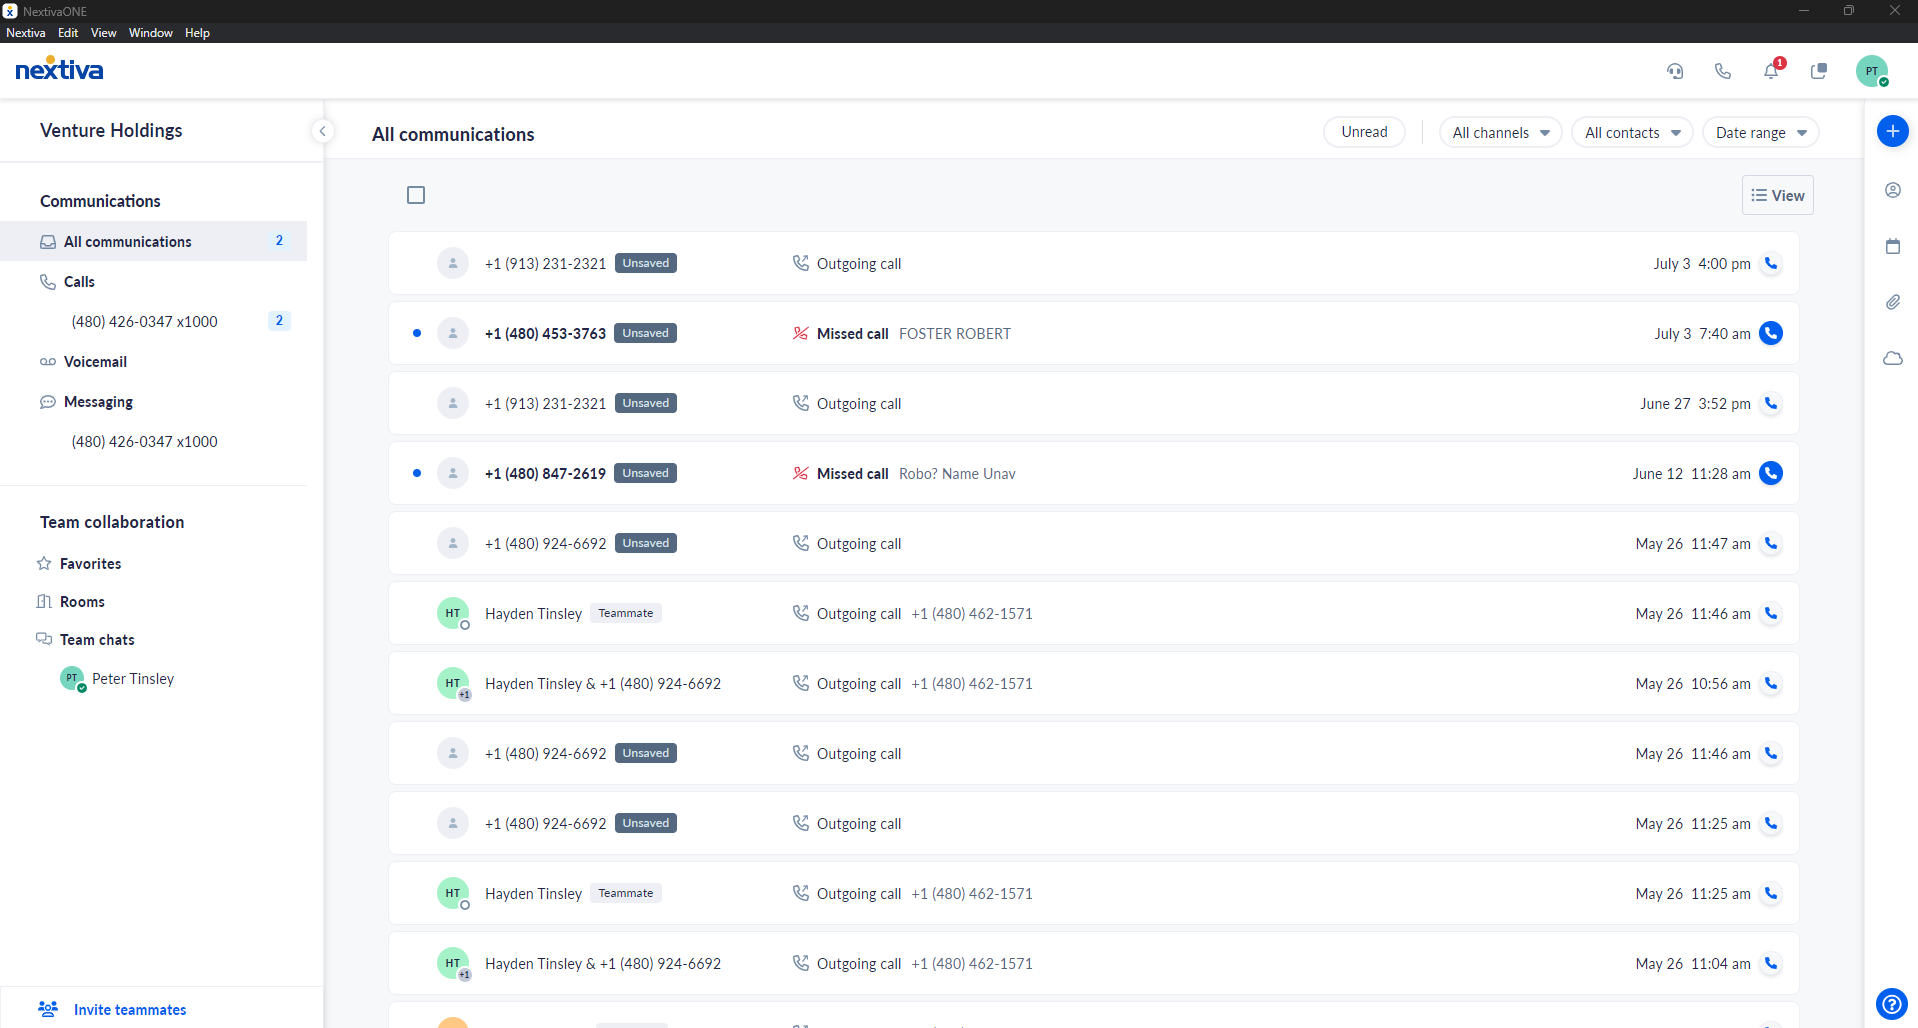
Choose the image that looks most like your screen once logged in: | |
 | |
 |
Setup
Once created, a schedule needs to be applied to either a call forwarding selective rule on a user, call group, or auto attendant, or used for call center forwarding.
| When configuring schedules for call forwarding selective two different schedules will need to be made, one for holidays only, and one for weekly recurring events. |
|---|
- Log in to the voice portal as an administrator.
- Hover over the gear icon in the upper right-hand corner and click on My Account.
- Under “My Account,” click Schedules.
- Enter a name for the schedule.
- Try to keep the name as descriptive as possible.
- Try to keep the name as descriptive as possible.
- Choose the type of schedule from the dropdown menu
- Set the level
- Enterprise - Usable by all users and service instances on the enterprise.
- Location - Usable by all users and service instances on the location
- User - Usable only by the specific user.
- Enterprise - Usable by all users and service instances on the enterprise.
- Click Save.
Configure Regular Schedule
Regular schedules use sliders to define weekly recurring events. One-time events can also be created; however, it's easier to use Holiday Schedules for one-time events.
- Adjust sliders to match start and end times for weekly events.
- If needed, check the Flip Sliders box to split into 2 sliders per day.
- If needed, check the Flip Sliders box to split into 2 sliders per day.
- Marking the box for closed on the day of the week will adjust what happens based on if the Flip Sliders box is checked
- Unchecked - Assumes a business hours schedule is created and creates no event for the day.
- Checked - Assumes an after-hours schedule is created and creates an all-day event for the day.
- Unchecked - Assumes a business hours schedule is created and creates no event for the day.
- Click Save.
- Individual events can be created for more information, see the Holiday Schedule section.
Configure Holiday Schedule
Holiday schedules are managed by events. The events can be set to recur on a daily, weekly, monthly, or annual basis.
- At the bottom right-hand corner of the events box, click the + icon.
- Enter a name for the event, be as descriptive as possible.
- Set a start date and time (i.e., 1/27/2021 8:00 AM)
- Set an end date and time (i.e,. 1/27/2021 4:00 PM)
- Set a recurrence pattern
- Never - Does not repeat.
- Daily - Repeats every X days.
- Weekly - Repeats weekly on specific days of the week.
- Monthly - Repeats monthly on either a specific date of the month (i.e., the 2nd of the month) or day of the month (First Monday).
- Yearly - Repeats yearly on either a specific date of the year (July 4) or a specific day of the year (last Monday in May).
- Never - Does not repeat.
- Click Save.
- Additional events can be created as needed.
Still need help with this?