Setting up schedules
| Set up a schedule to route calls based on the day and time. For example, add lunch breaks and holidays, so all incoming calls during those times forward to voicemail or an emergency line. | |
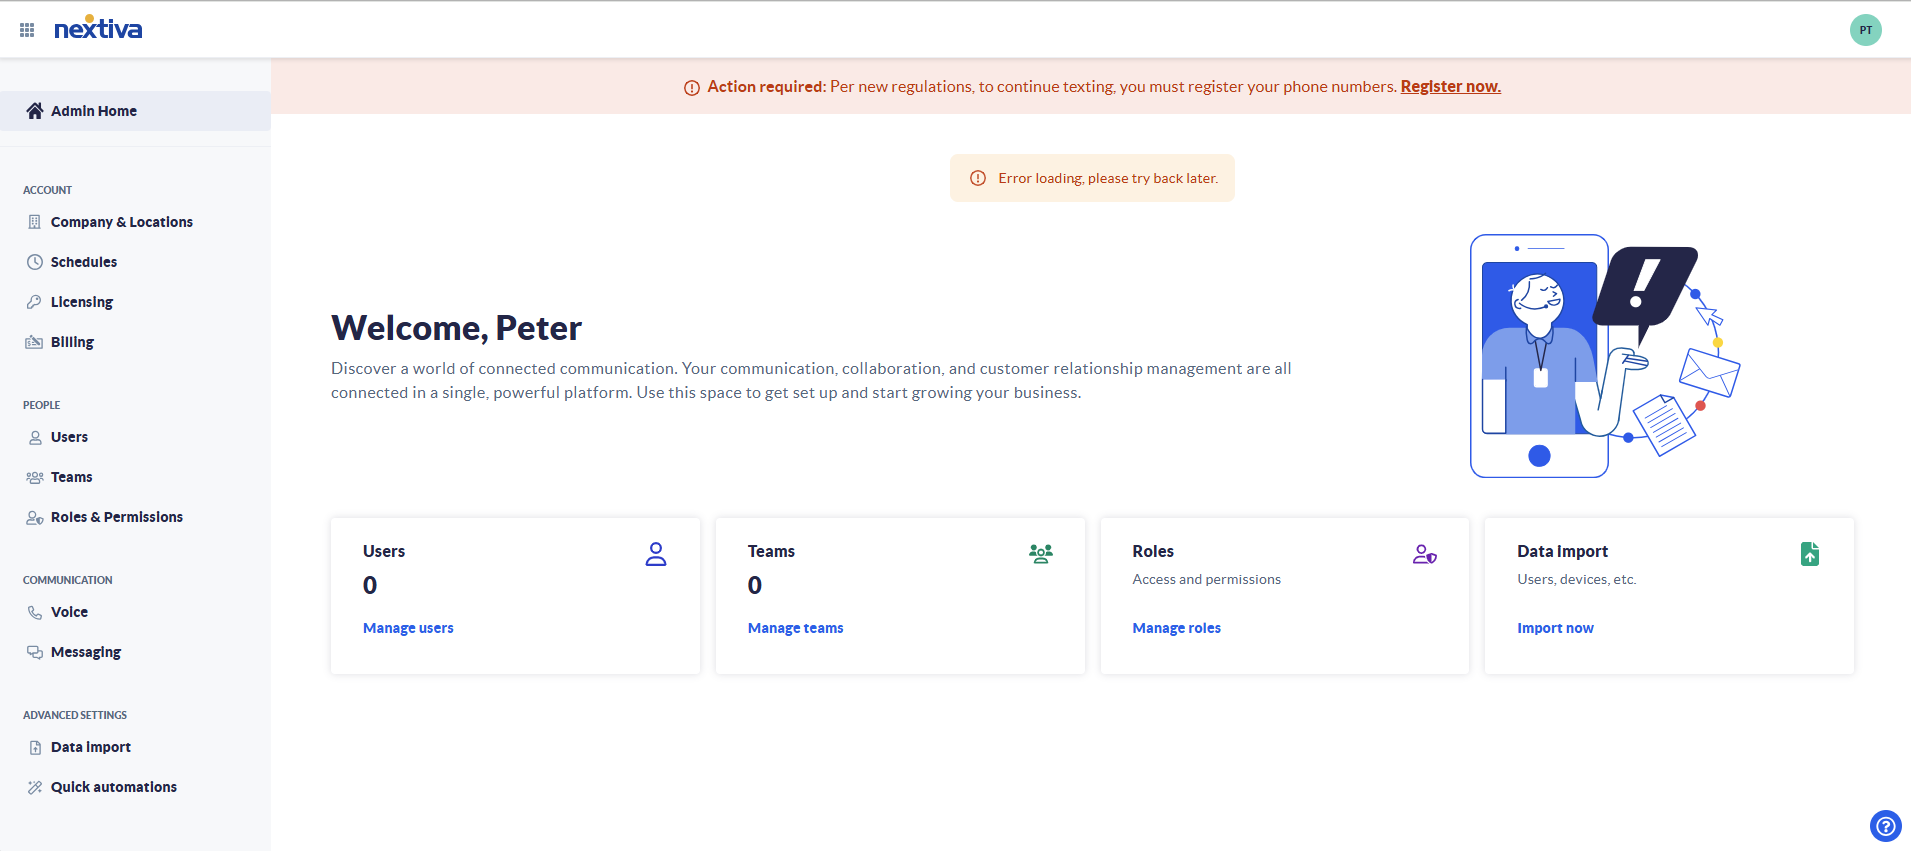
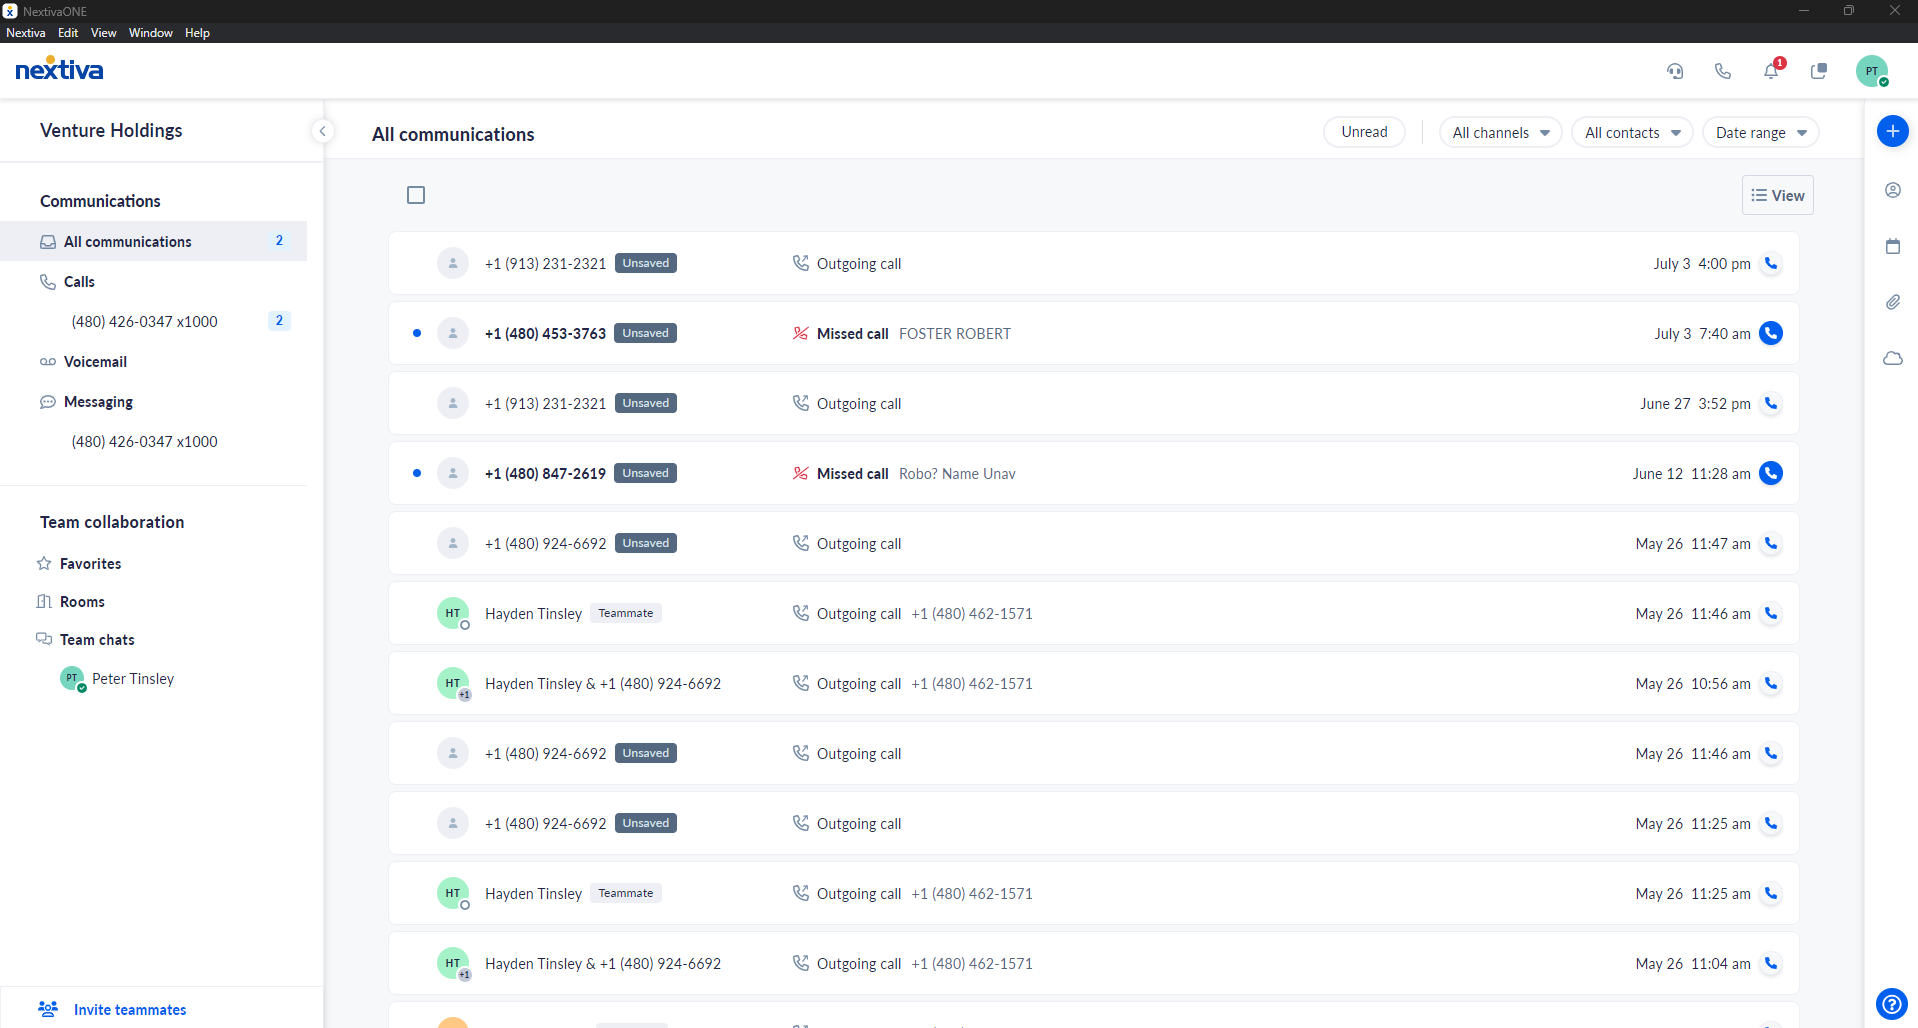
Choose the image that looks most like your screen once logged in: | |
 | |
 |
We offer three different types of schedules that can be created and managed in your account. Once created a schedule needs to be applied to either a call forwarding selective rule on a user or team, used for call center forwarding, or used in a call flow.
| When configuring schedules for call forwarding selective two different schedules will need to be made, one for holidays only, and one for weekly recurring events. |
|---|
- Company Schedules - Created and managed by administrators, these schedules can be used across all users and locations in the entire company.
- Location Schedules - Created and managed by administrators, these schedules can be used by all users on a specific location.
- User Schedules - Created and managed by both users and administrators, these schedules can only be used by a specific user.
Create Company Schedules
This schedule will be usable by all users and locations within the company. It can also be selected for call flows.
- Log in to the voice portal as an administrator.
- From the main admin page, click Schedules on the left-hand side.
- Click the New Schedule button on the right-hand side of the screen.
- In the sidebar window that appears, fill out the following information:
- Enter a name for the schedule
- Define the Schedule hours.
NOTE: If creating a schedule for a Call Forwarding Selective rule, set the Schedule hours to be when you want call forwarding to happen.
By default, the schedule assumes using the same hours Monday - Friday. To define different hours, follow these steps:
- Select Specify hours by day.
- Check the boxes for the days that are open.
- Set the hours for the business, each day can have up to 5 breaks.
- If defining only holidays, check the Always Open box.
- Select Specify hours by day.
- Select any holidays you are closed.
Observed holidays - Allows you to pick pre-defined holidays from a drop-down list. These will be all-day events.
Specified dates - Allows you to define specific dates and times you will be closed.
Custom dates - Allows you to define a recurring annual day and time you will be closed (i.e. the first Monday of February).- Define the holiday parameters.
NOTE: If using Specified dates or Custom dates, they are set to repeat annually by default. Uncheck the This event repeats forever box to set the number of recurrences. - Click Add Holiday.
- Repeat for each holiday to add.
- Define the holiday parameters.
- Enter a name for the schedule
- Click Save.
Once created, this schedule can be applied to a call forwarding selective rule on a user or team, used for call center forwarding, or used in a call flow on any location on the account.
Create a Location Schedule
- Log in to the voice portal as an administrator.
- From the main admin page, click Company & Locations on the left-hand side.
- Click the Locations tab.
- Hover over the location the schedule will be built on, click the vertical ellipsis, and select Voice Settings.
- Click Location Schedules on the left of the section.
- Click the New Schedule button.
- Fill out the form that appears on the right side of the page.
- Enter a Name for the schedule.
- Define the Schedule hours.
NOTE: If creating a schedule for a Call Forwarding Selective rule, set the Schedule hours to be when you want call forwarding to happen.
By default, the schedule assumes using the same hours Monday - Friday. To define different hours, follow these steps:
- Select Specify hours by day.
- Check the boxes for the days that are open.
- Set the hours for the business, each day can have up to 5 breaks.
- If defining only holidays, check the Always Open box.
- Select Specify hours by day.
- Define any Holidays.
Observed holidays - Allows you to pick pre-defined holidays from a drop-down list. These will be all-day events.
Specified dates - Allows you to define specific dates and times you will be closed.
Custom dates - Allows you to define a recurring annual day and time you will be closed (i.e. the first Monday of February).- Define the holiday parameters.
NOTE: If using Specified dates or Custom dates they are set to repeat annually by default. Uncheck the This event repeats forever box to set the number of recurrences. - Click Add Holiday.
- Repeat for each holiday to add.
- Define the holiday parameters.
- Enter a Name for the schedule.
- Click Save.
Once created, this schedule can be applied to a call forwarding selective rule on a user or team, used for call center forwarding, or used in a call flow on the location where it was built.
Create User Schedules
- Log in to the voice portal as an administrator.
- From the main admin page, click Users.
- Hover over the user the schedule will be built on, click the vertical ellipsis, and select Voice Settings.
- Click User Schedules on the left of the section.
- Click the New schedule button.
- Fill out the form that appears on the right side of the page.
- Enter a Name for the schedule.
- Define the Schedule hours.
NOTE: If creating a schedule for a Call Forwarding Selective rule, set the Schedule hours to be when you want call forwarding to happen.
By default, the schedule assumes using the same hours Monday - Friday. To define different hours, follow these steps:
- Select Specify hours by day.
- Check the boxes for the days that are open.
- Set the hours for the business, each day can have up to 5 breaks.
- If defining only holidays, check the Always Open box.
- Select Specify hours by day.
- Define any Holidays.
Observed holidays - Allows you to pick pre-defined holidays from a drop-down list. These will be all-day events.
Specified dates - Allows you to define specific dates and times you will be closed.
Custom dates - Allows you to define a recurring annual day and time you will be closed (i.e. the first Monday of February).- Define the holiday parameters.
NOTE: If using Specified dates or Custom dates they are set to repeat annually by default. Uncheck the This event repeats forever box to set the number of recurrences. - Click Add Holiday.
- Repeat for each holiday to add.
- Define the holiday parameters.
- Click Save.
- Enter a Name for the schedule.
Once created, this schedule can be applied to a call forwarding selective rule on this user.