Simultaneous Ring
Article 000003812 · Updated Dec 15, 2025 · 1,498 views
| Simultaneous ring allows a user's line to ring multiple phone numbers or extensions at the same time. This feature only applies to direct calls to the user and does not work with calls from call flows using call flow voice settings or call centers. | ||
| If you use the mobile version of NextivaONE, do not configure simultaneous ring to use the same number as the mobile device, it will cause call failure. | ||
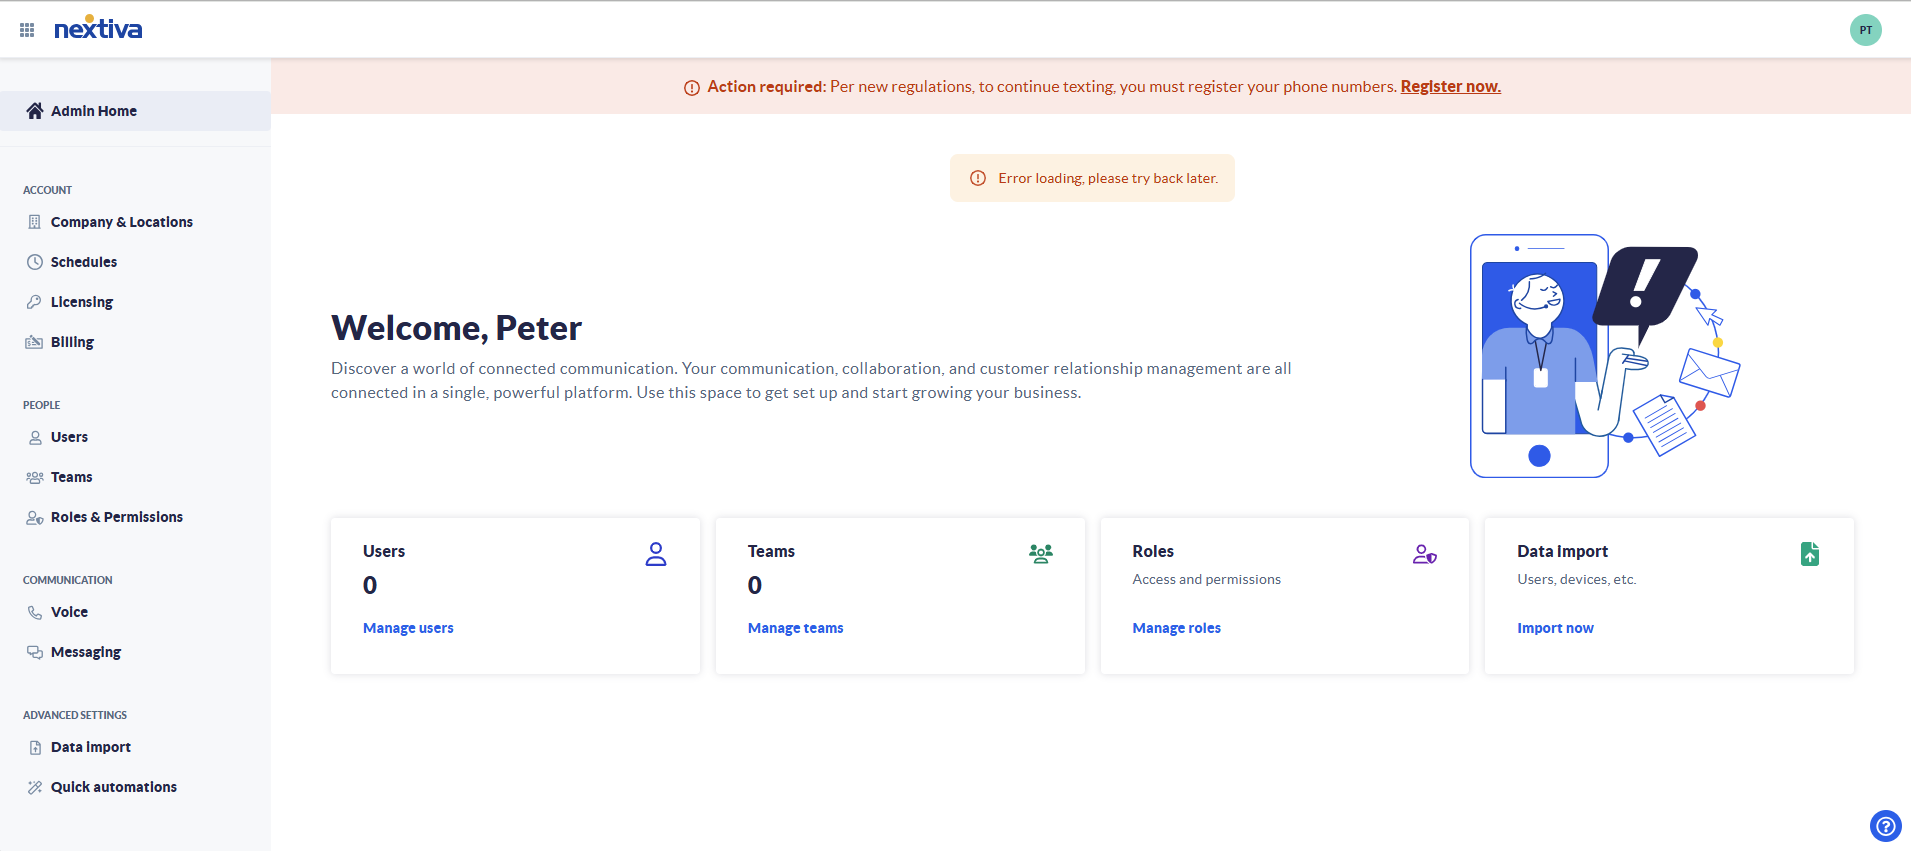
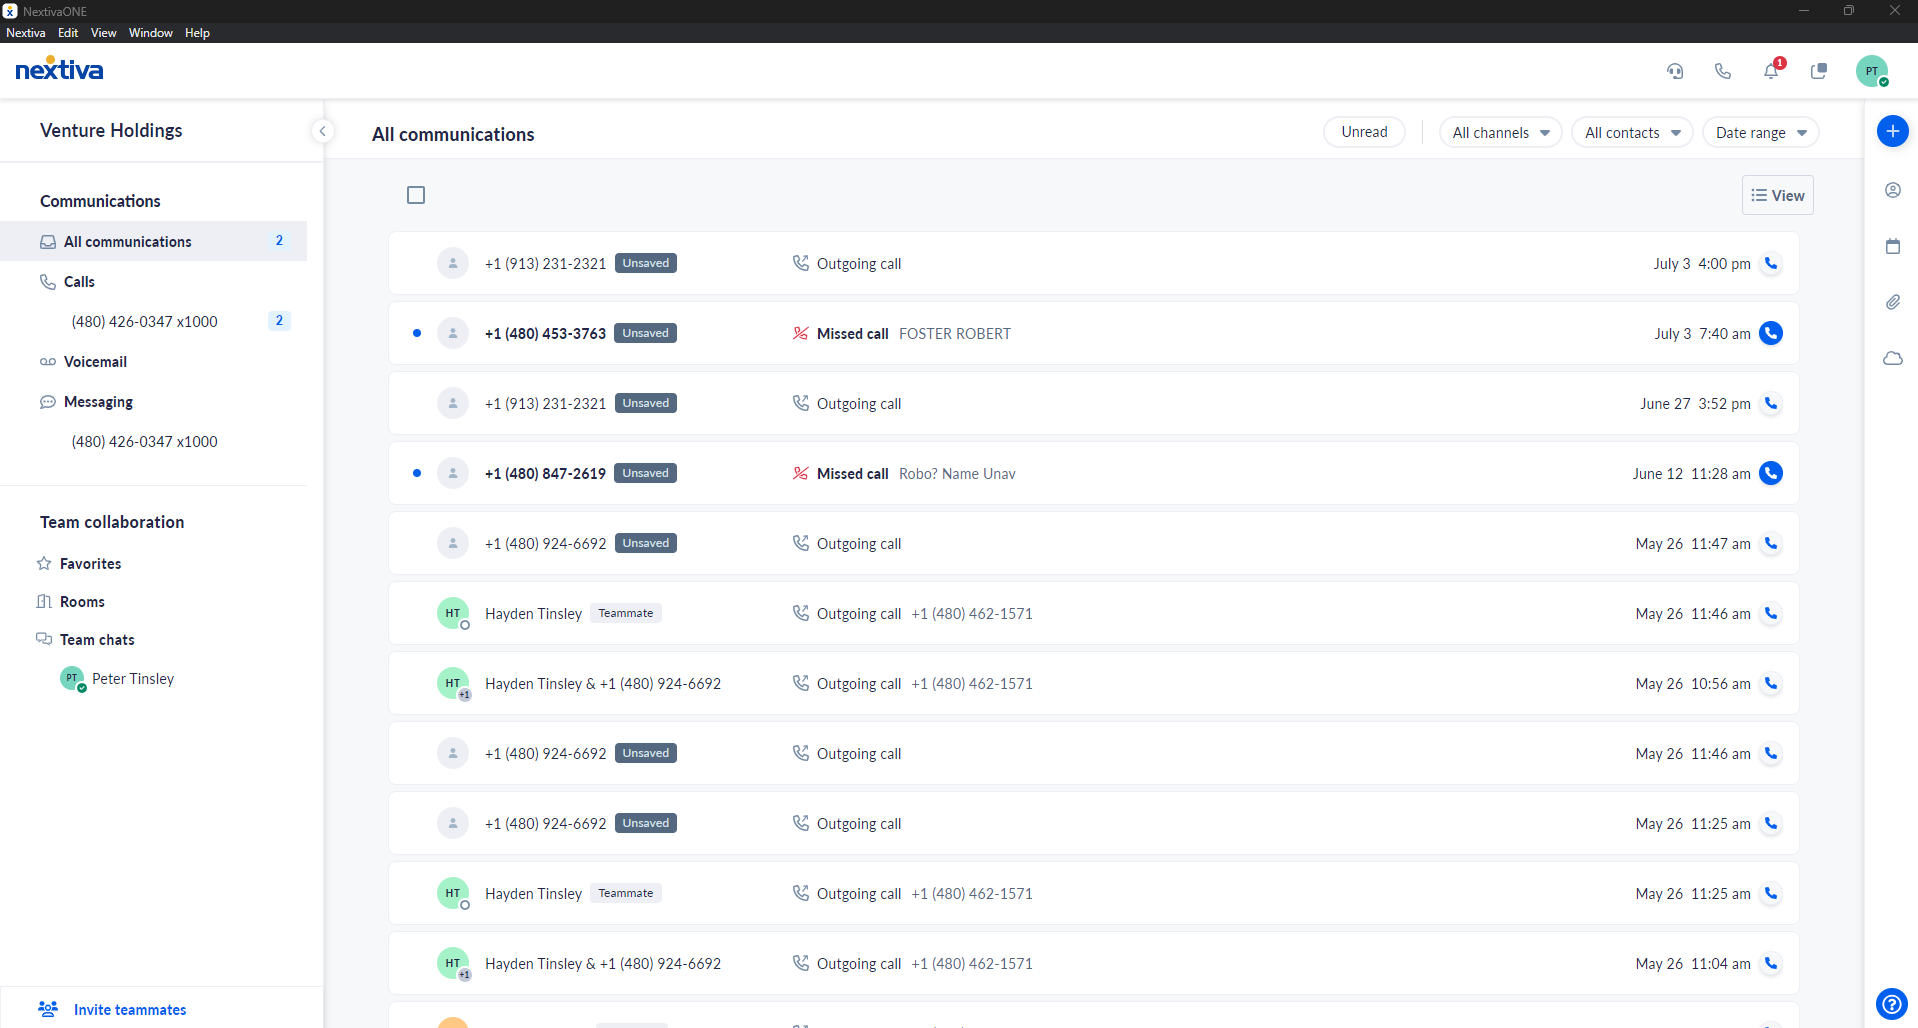
Choose the image that looks most like your screen once logged in: | ||
 |  |
Setup
- From the NextivaONE application (desktop or web), click your initials in the upper right-hand corner.
- Click My Settings.
- Hover over Calls, and select Mobility.
- Scroll down to the Simultaneous Ring section.
- Click Add phone number.
- In the window that appears, enter a phone number to ring simultaneously. Checking the Answer Confirmation box requires you to press any key after answering the call to connect. This will prevent unanswered calls from going to the external phone number's voicemail. Instead, unanswered calls will be redirected back to your Nextiva Voicemail.
- Click Add.
- Click Add condition to specify when simultaneous ring is used.
- Configure the conditions,
- Enter a description.
- Select if simultaneous ring is to be used or not.
- Select a schedule for when simultaneous ring is to be used. If a schedule needs to be created, an administrator can set up a schedule to use.
- Determine if all inbound calls or calls only from specific numbers trigger simultaneous ring. Up to 10 numbers can be listed on a single condition. Additional conditions can be added for more numbers.
- Enter a description.
- Click Add.
- Click the On/Off switch to toggle simultaneous ring on or off.
Still need help with this?