Creating a Location
Article 000003773 · Updated Jul 1, 2025 · 2,653 views
| Creating locations in NextOS allows administrators to set up individual settings for each office. Each location can have its own voice settings, allowing them to have their own schedules and music on hold. | |
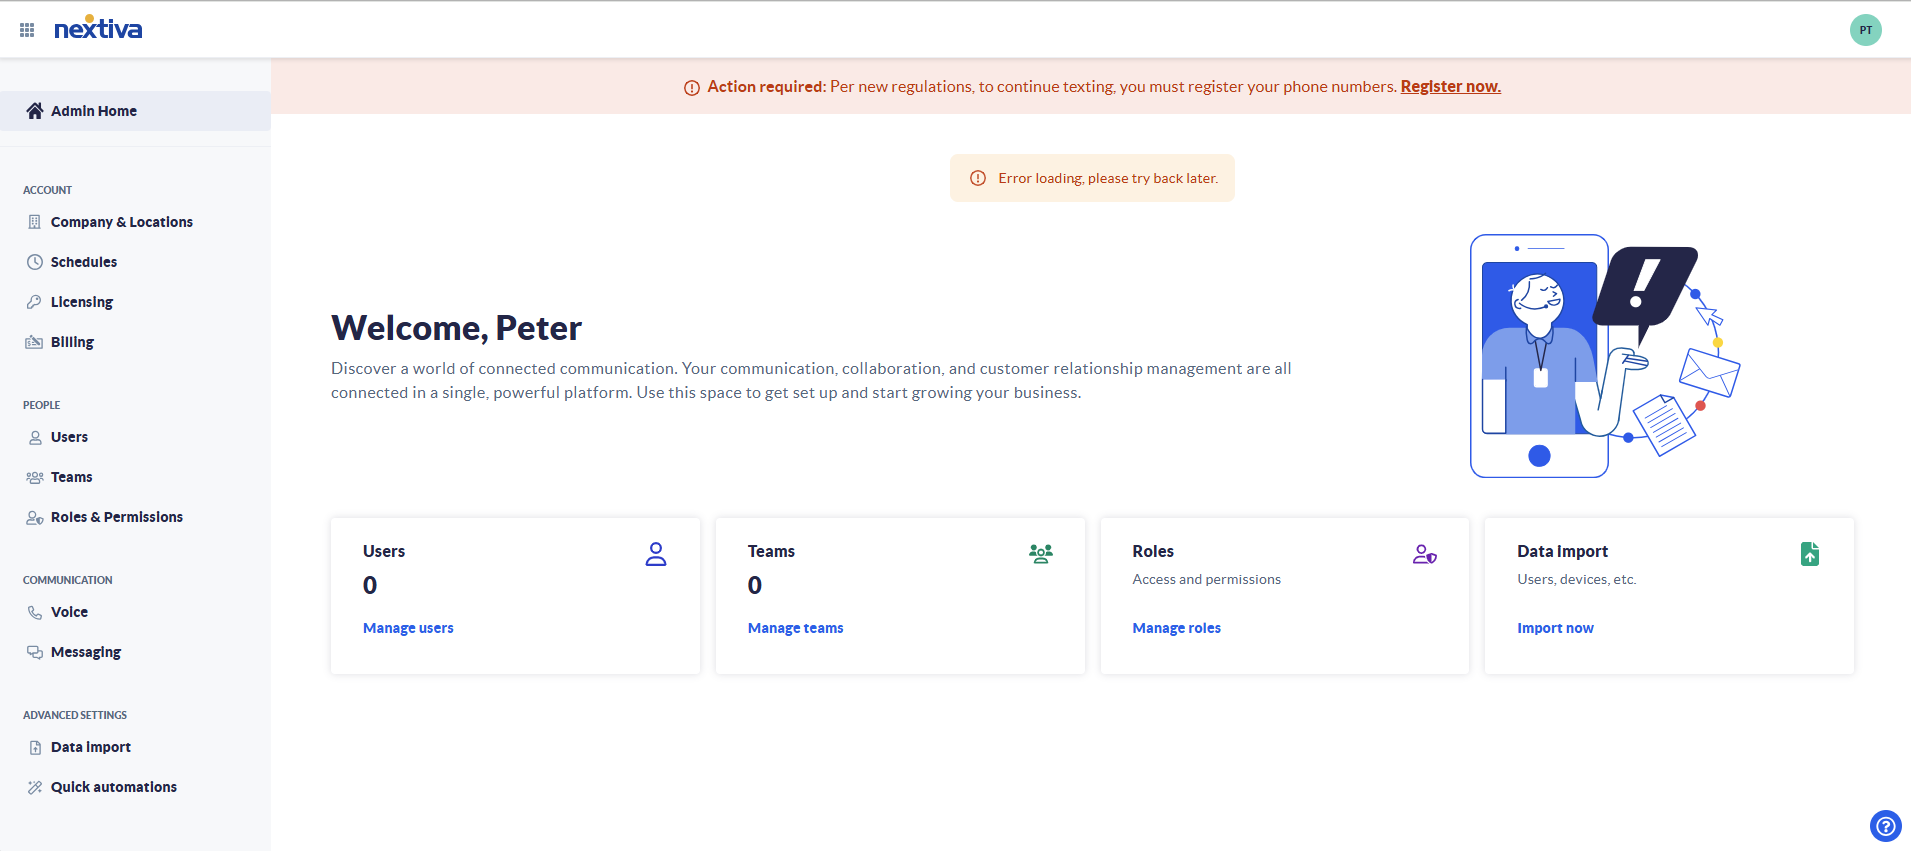
Choose the image that looks most like your screen once logged in: | |
 |
Location Setup
- Log in to the voice portal as an administrator.
- From the main dashboard, click the Add link in the Locations tile.
- Enter your information in the fields, as indicated below:
- Location name: the name of the location.
- Description: a description of the location.
- Location outgoing number: this will be the default outgoing caller ID number for the users in this location. This can be changed on a per-user basis later.
- Location caller ID: the caller ID name you want to be displayed for calls made from this location.
- Time zone: the time zone for this location.
- Location name: the name of the location.
- Enter the address information for this location in the fields shown. The address entered here is where emergency services will arrive if 911 is dialed from a number at this location, so please review for accuracy.
- Click the green Save button below the address information. A pop-up message will appear confirming that the location has been created.
Still need help with this?