Custom Ringback
Article 000003871 · Updated Jun 30, 2025 · 4,325 views
| Custom ringback allows for custom music or a message to play instead of ringing for the caller. | |
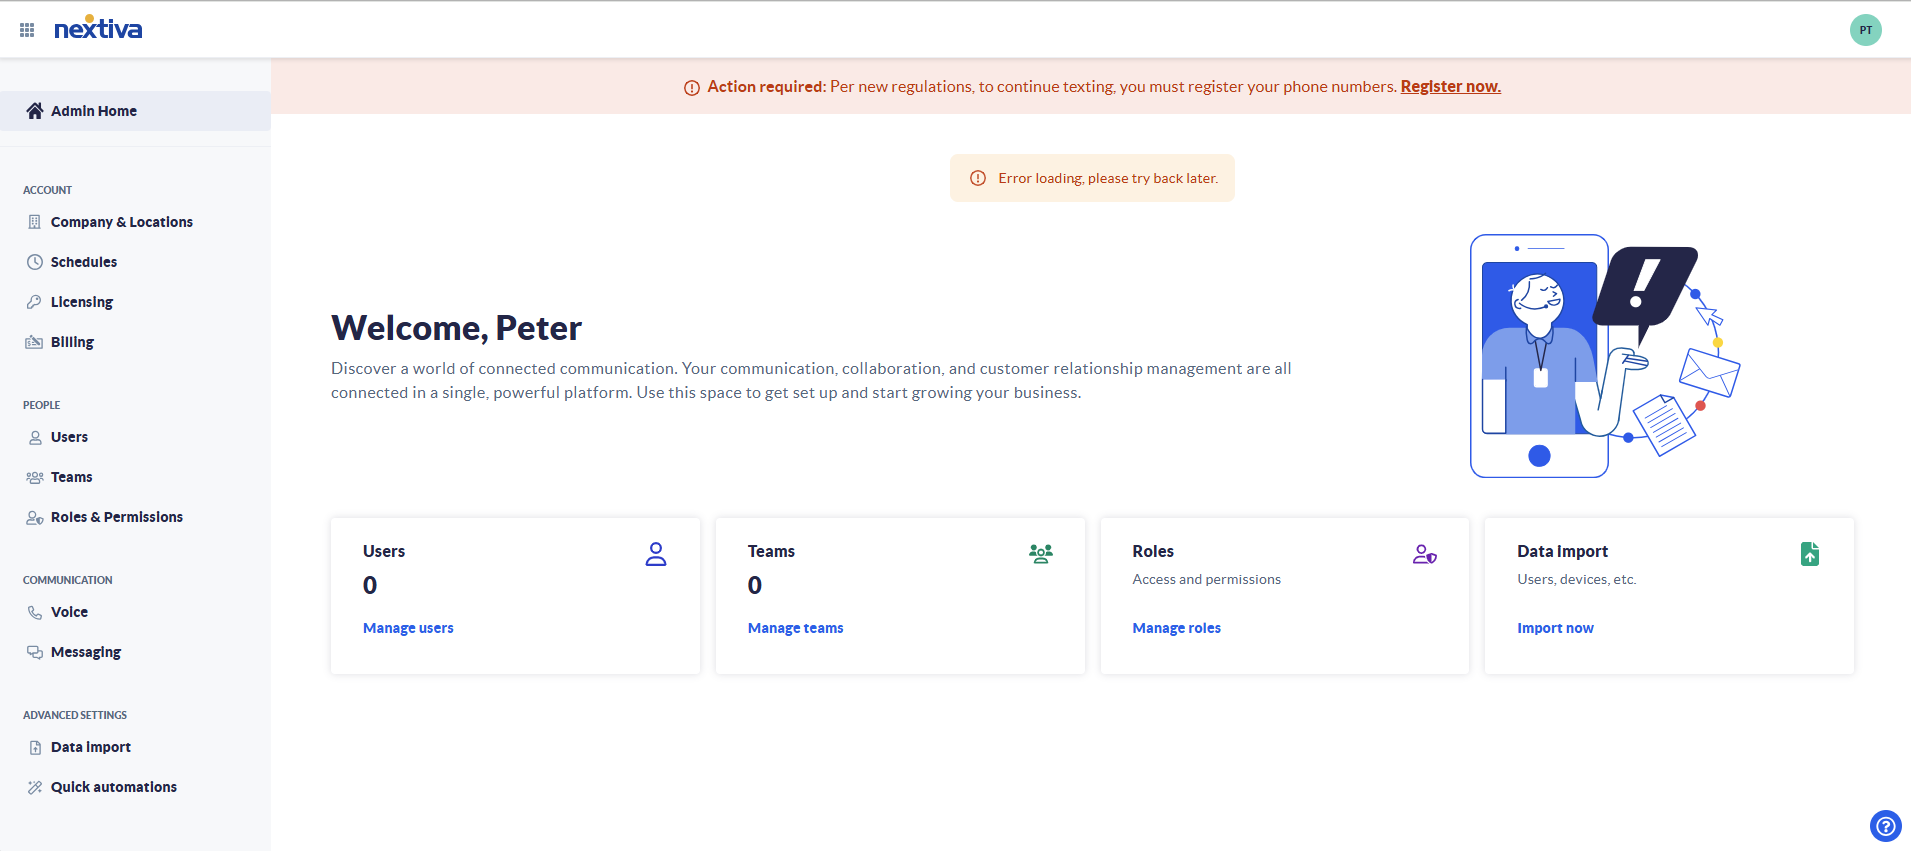
Choose the image that looks most like your screen once logged in: | |
 |
Setup
User Setup
- Log in to the NextOS voice portal as an administrator.
- Hover over Users at the top of the page and click on Manage Users
- Click the name of the user to configure.
- Scroll down, and click the Permissions heading toward the bottom of the screen to expand the section.
- Click on Custom Ringback User
- Click the + icon to add a new custom ringback tone.
- Fill in the fields:
- Description: This is a descriptive name for the custom ringback.
- Don’t use custom ringback: This setting controls whether custom ringback is used or not used when the pre-defined criteria are met.
- Regular Schedule: This is the schedule that will be used to play or not play the custom ringback, depending on whether the Don’t use custom ringback check box is selected or not.
- Holiday Schedule: This is the holiday schedule that will be used to play or not play the custom ringback, depending on whether the Don’t use custom ringback check box is selected or not.
- Any phone number: Select this setting to have calls from any number play or not play the custom ringback, depending on whether the Don’t use custom ringback check box is selected or not.
- Following phone numbers: Select this setting to have calls from only certain numbers play or not play the custom ringback, depending on whether the Don’t use custom ringback check box is selected or not.
- Any private number: Select this setting to have calls from private numbers play or not play the custom ringback, depending on whether the Don’t use custom ringback check box is selected or not. This setting is only visible if the Following phone numbers radio button is selected (see above).
- Any unavailable number: Select this setting to have calls from unavailable numbers play or not play the custom ringback, depending on whether the Don’t use custom ringback check box is selected or not. This setting is only visible if the Following phone numbers radio button is selected (see above).
- Specific number: Select this setting to have calls from specific numbers play or not play the custom ringback, depending on whether the Don’t use custom ringback check box is selected or not. This setting is only visible if the Following phone numbers radio button is selected (see above). To specify multiple numbers, click the plus sign to the right of the Specific number text box.
- Initial ringback: this setting controls the ringback callers will hear when you are not already on a call. There are three options:
- No personal ringback: this setting results in no custom ringback when others call you.
- URL *not supported*: this setting allows you to specify an online address that will stream live audio.
- Custom: This setting allows you to select a file that contains the audio you want to play.
- No personal ringback: this setting results in no custom ringback when others call you.
- Waiting ringback: this setting controls the ringback callers will hear when you are already on a call. There are three options:
- No personal ringback: this setting results in no custom ringback when others call you.
- URL *not supported*: this setting allows you to specify an online address that will stream live audio.
- Custom: This setting allows you to select a file that contains the audio you want to play.
- No personal ringback: this setting results in no custom ringback when others call you.
- Description: This is a descriptive name for the custom ringback.
- Click the green Save Criteria button.
Location Setup
This service requires all users on the account to have enterprise licenses and needs to be enabled by Nextiva Support. To request this feature be enabled, please contact our support team with a request to enable custom ringback on a location.
- Log in to the voice portal as an administrator.
- Hover over Locations at the top of the page, and click Manage Locations.
- Click on the location to configure the custom ringback.
- Scroll down, and click on Location Features to expand the section.
- Click on Custom Location Ringback.
- Select Custom Audio File and choose a file from the drop-down menu. For instructions on how to upload an audio file see Uploading Announcements/Greetings for 3.0 Accounts. If the uploaded file is not appearing, the file may be too long for custom ringback. Ensure that the file for custom ringback is not longer than 2 minutes and re-upload.
- Click Save.
Still need help with this?