SMS/MMS Setup
Article 000003791 · Updated Aug 26, 2025 · 4,032 views
| In order for texting to be enabled, the phone number needs to be registered for business messaging, click here for instructions on how to register a phone number for texting. | |
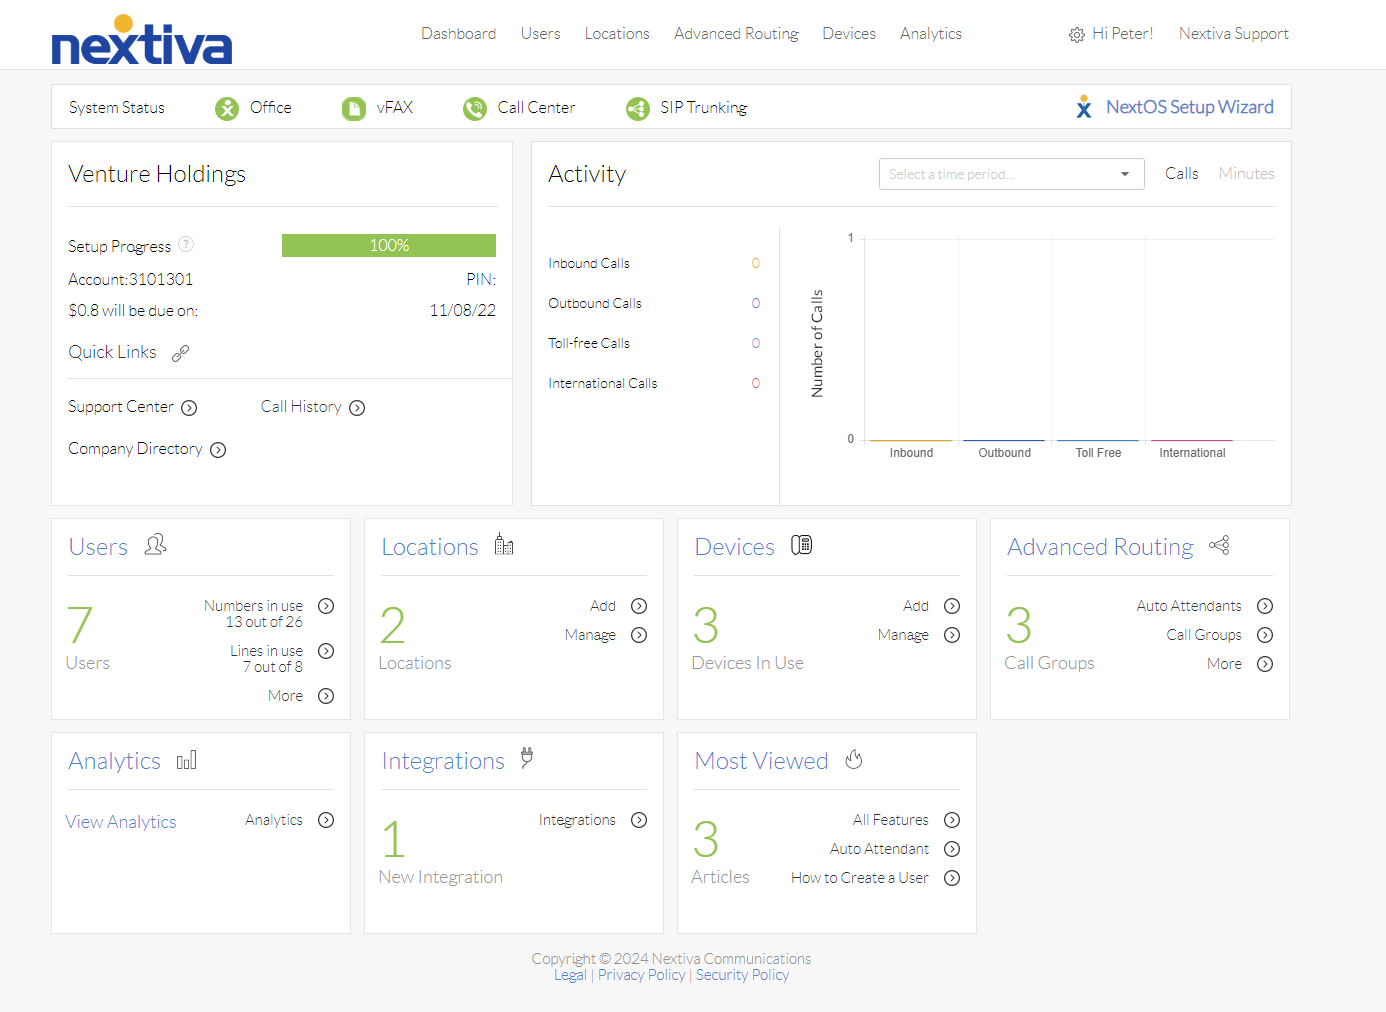
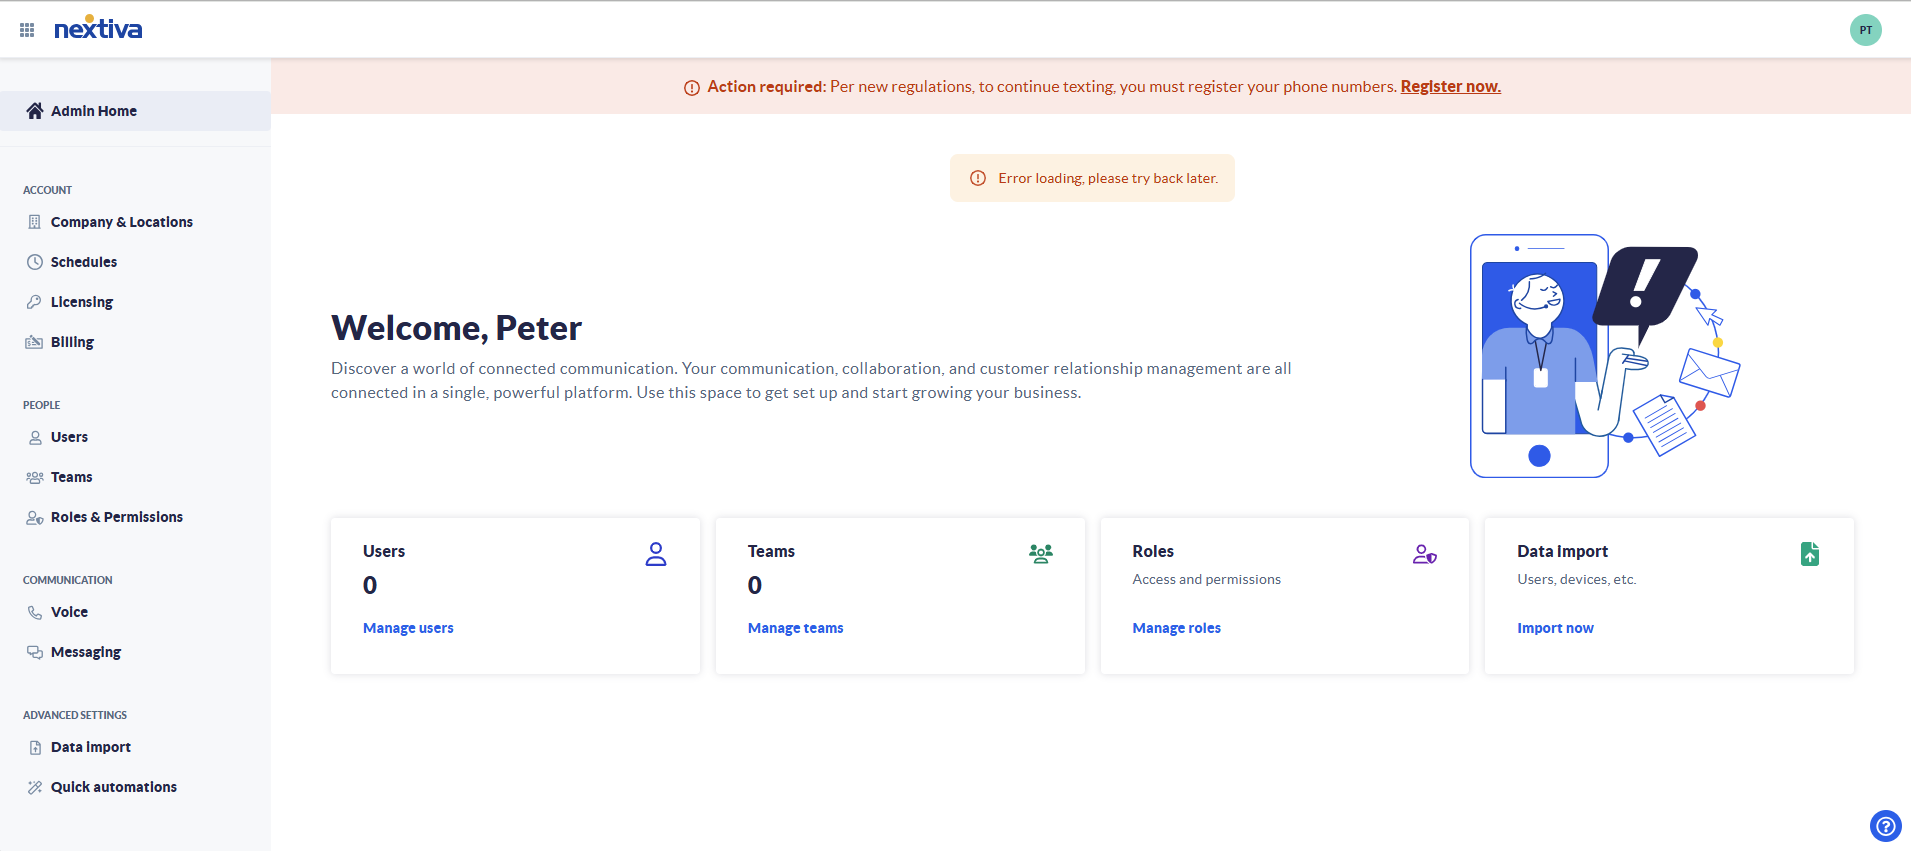
Choose the image that looks most like your screen once logged in: | |
 |  |
Setup
Texting service requires a Pro-Plus, Professional, or Enterprise license to be enabled.
These are the requirements to enable texting on a number:
- The number has to be assigned to a user and not to a non-user construct (i.e. auto attendant, hunt group, etc.)
- The number has to be assigned as a Primary Number for the user
- The number cannot be a toll-free number
- Canada/Puerto Rico numbers are not eligible
If the number meets the above requirements, use the following steps to enable texting:
- Log in to the voice portal as an administrator.
- Hover over the gear icon in the upper right-hand corner and click on My Account.
- Click Numbers on the right-hand side of the page.
- Hover over the number to enable texting on and click on Actions.
- Click Enable SMS/MMS.
- In the pop-up window that appears, click Confirm.
- Have the user log out and log back into NextivaONE on both the desktop and mobile versions.
NOTE: It can take up to two hours for the service to fully provision to the user.
- The user can then start using their assigned phone number both for making calls and texting.
Still need help with this?