Uploading Announcements and Greetings to a Location
Article 000003808 · Updated Oct 8, 2025 · 5,129 views
This guide helps you upload audio files to a location on your account. Files uploaded to a location can be used by anything on that location (user, team or call group, auto attendant, call center). If you wish to upload a file for a user to use specifically, click here.
File Requirements
Audio files must adhere to the following requirements:
- PCM Uncompressed (µ-Law)
- .wav file format
- 8 or 16 Bit
- 8000 HZ
- Mono
- Under 2 MB
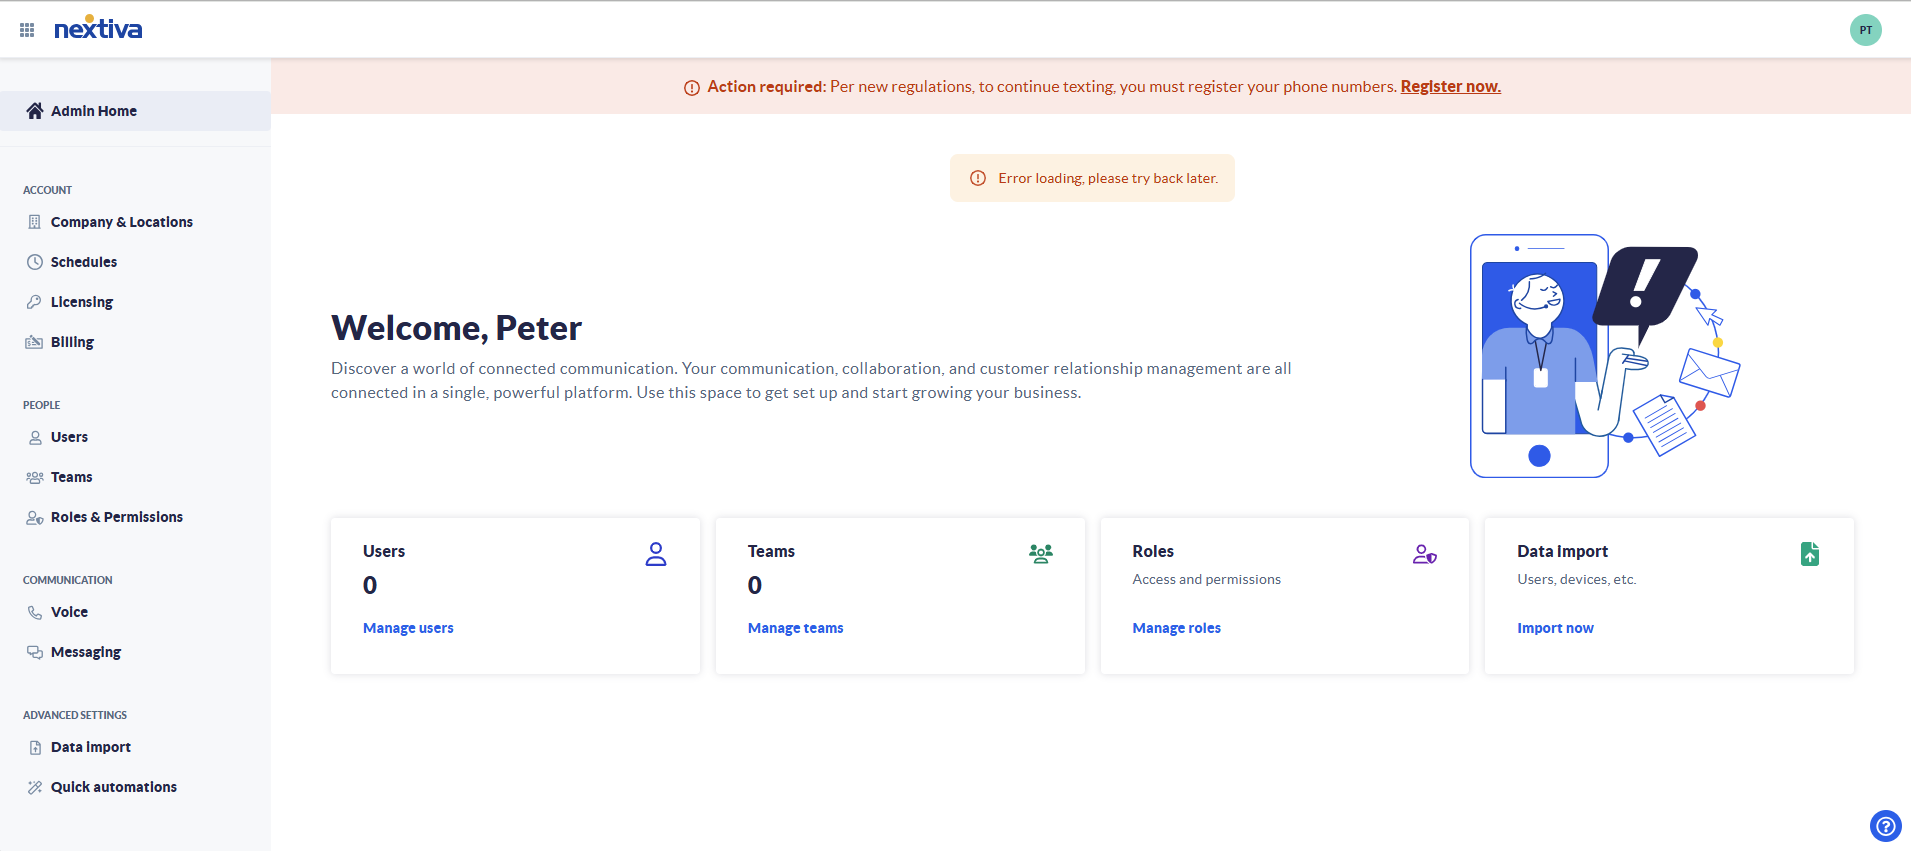
For instructions on how to upload an audio file, choose the image that looks most like your screen once logged in: | |
 |
Upload Instructions
- Log in to the voice portal as an administrator.
- Hover over Locations and select Manage Locations.
- Click the Pencil icon corresponding to the desired Location.
- Click to expand the Announcements section. Audio files in the announcement repository for this location are accessed here.
- Click the Upload File button.
- In the Announcement Name field, enter a descriptive name for the announcement and click Choose File to select the desired .wav file.
- Click Upload.
The file can now be used for Music on Hold, Auto Attendant Greetings, and Call Group Voicemail greetings.
Still need help with this?