Busy Lamp Field
Article 000003827 · Updated Nov 25, 2025 · 2,844 views
| Busy lamp field is a feature that allows a user to monitor if other users are on the phone with a glance at their phone. Nextiva allows each user to monitor up to 50 users at a time; however, some devices will limit further than this. | |
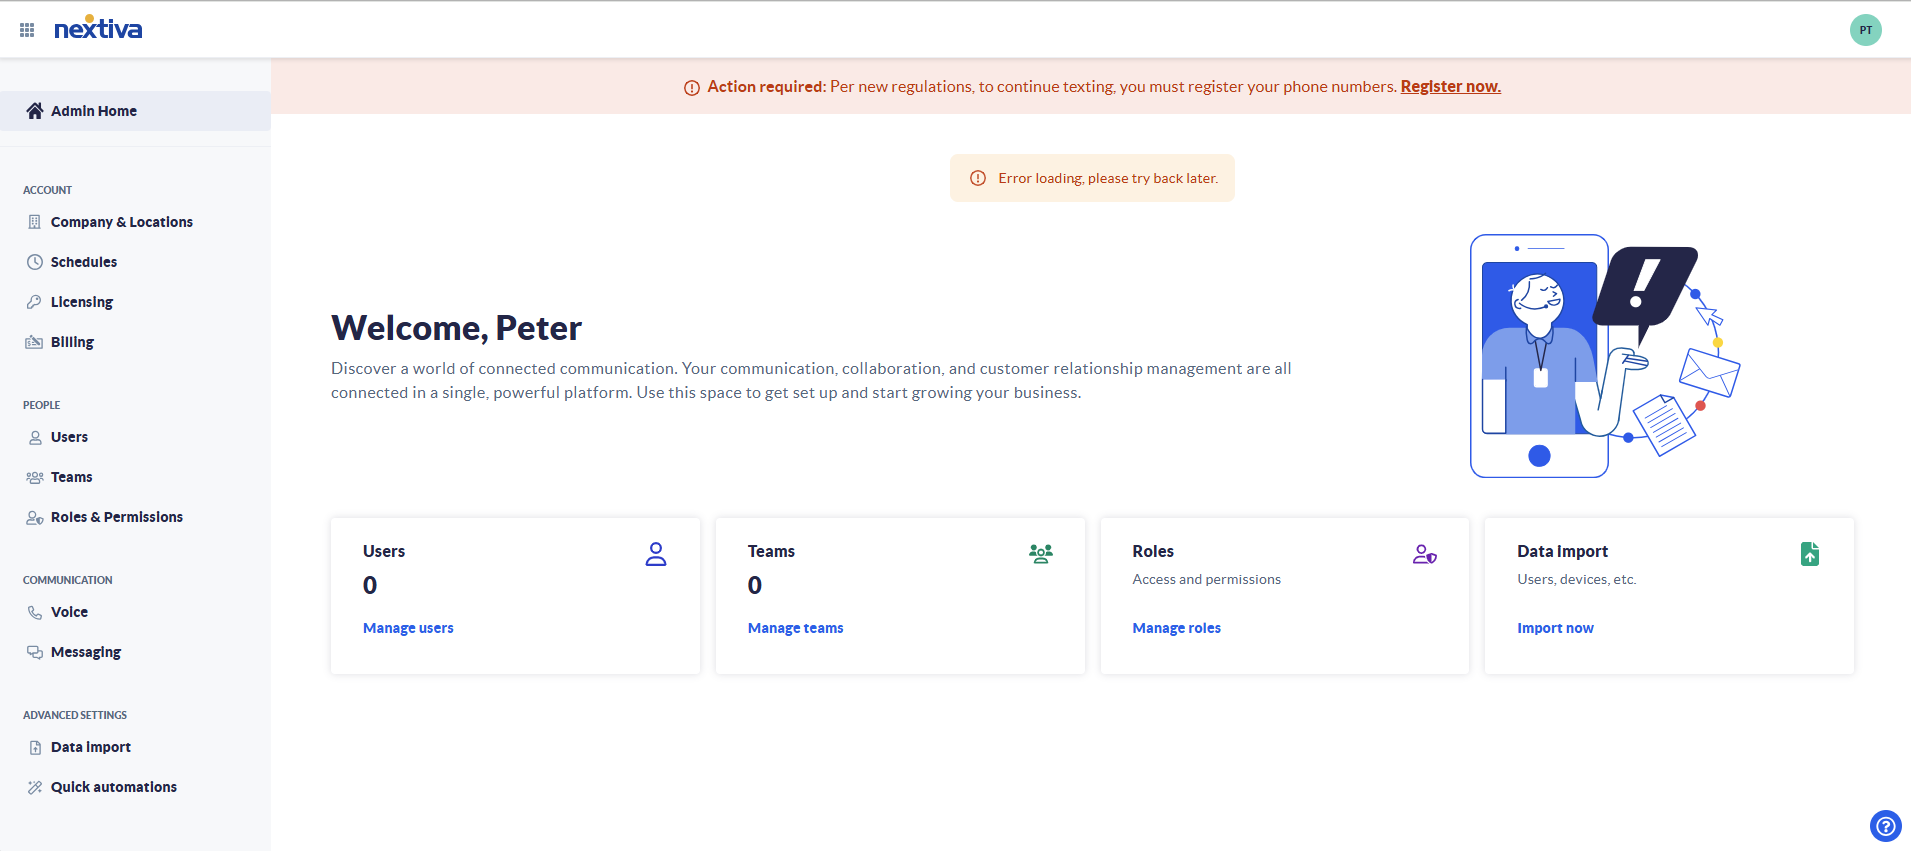
Choose the image that looks most like your screen once logged in: | |
 |
Setup
Administrator Access
- From the landing page, hover your cursor over Users. Click Manage Users in the dropdown menu.
- Click the edit icon beside the user you wish to add BLF to.
- Scroll down, and click the dropdown arrow beside Monitoring.
- Click the edit icon beside Busy Lamp Field.
- If you want to see calls parked against monitored extensions, check Enable Call Park Notification.
NOTE: This is for parking using the feature access code *68. Not all devices support this function. Some models require Nextiva support to enable park monitoring. - Click the plus icon beside the name of any Available Users to add them to the Monitoring Users list in the order you want them to appear. Once done, click Save.
- To re-order the users, remove all the users from the monitored users section and re-add them in the desired order. Once done, click Save.
User Access
- After logging in, click Features at the top of the page on the right-hand side.
- Click the drop-down arrow beside Monitoring.
- Click the edit icon beside Busy Lamp Field.
- If you want to see calls parked against monitored extensions, check Enable Call Park Notification.
NOTE: This is for parking using the feature access code *68. Not all devices support this function. Some models require Nextiva support to enable park monitoring. - Click the plus icon beside the name of any Available Users to add them to the Monitoring Users list in the order you want them added. Use the filter tool to reduce the number of users that appear. Once done, click Save.
- To re-order the users, remove all the users from the monitored users section and re-add them in the desired order. Once done, click Save.
Still need help with this?