Auto Attendant Setup
Article 000002172 · Updated Oct 2, 2025 · 18,594 views
| Auto Attendants are used to play a greeting and allow callers to select from a list of options to route their calls. | |
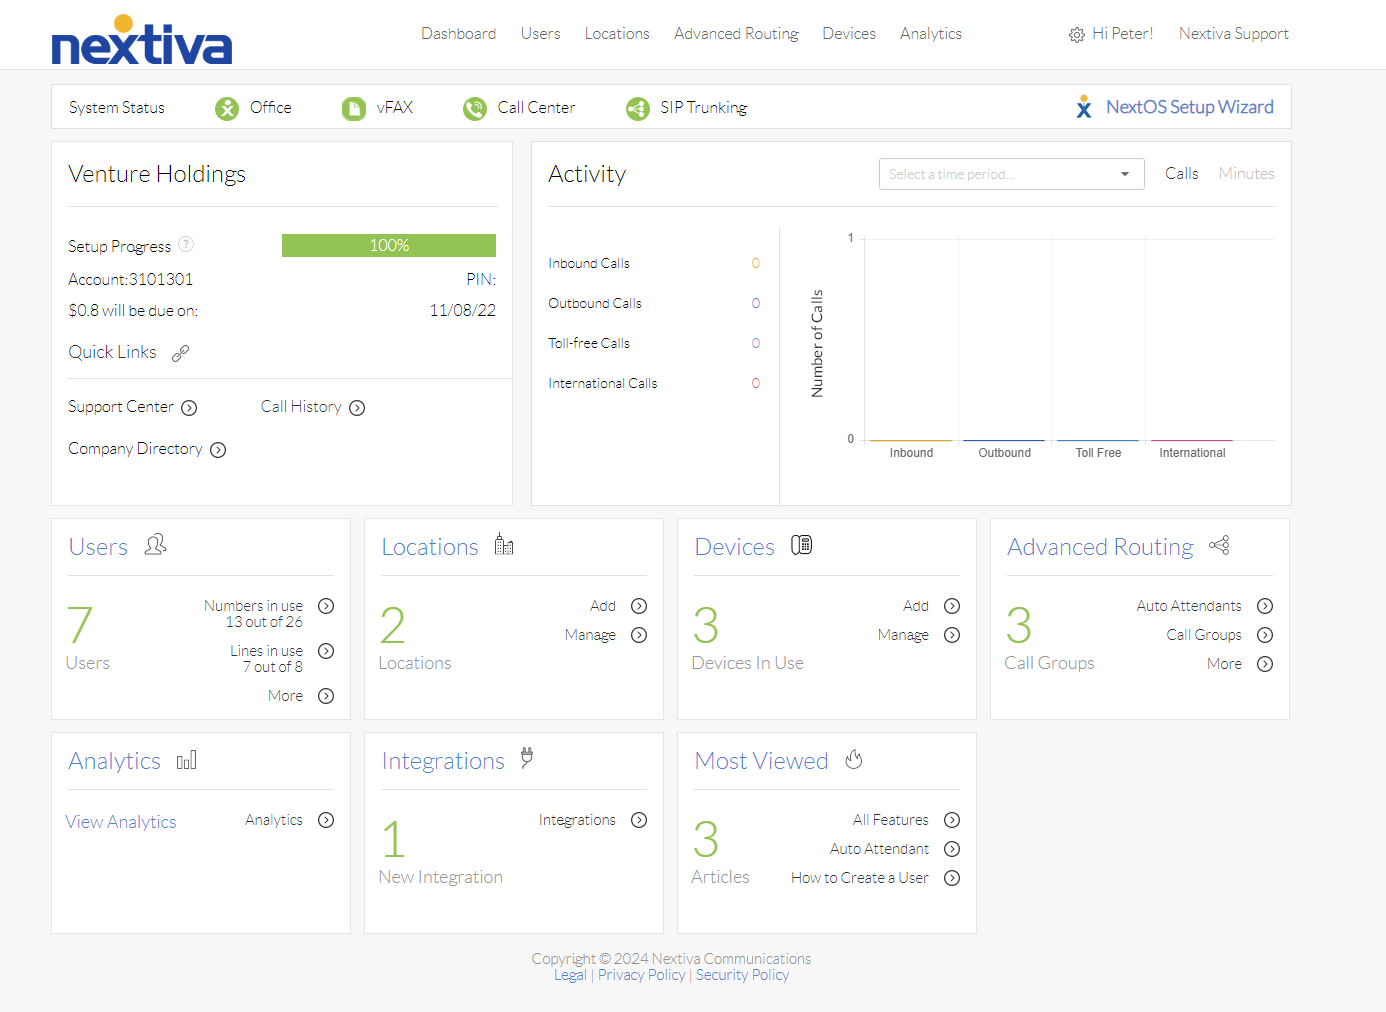
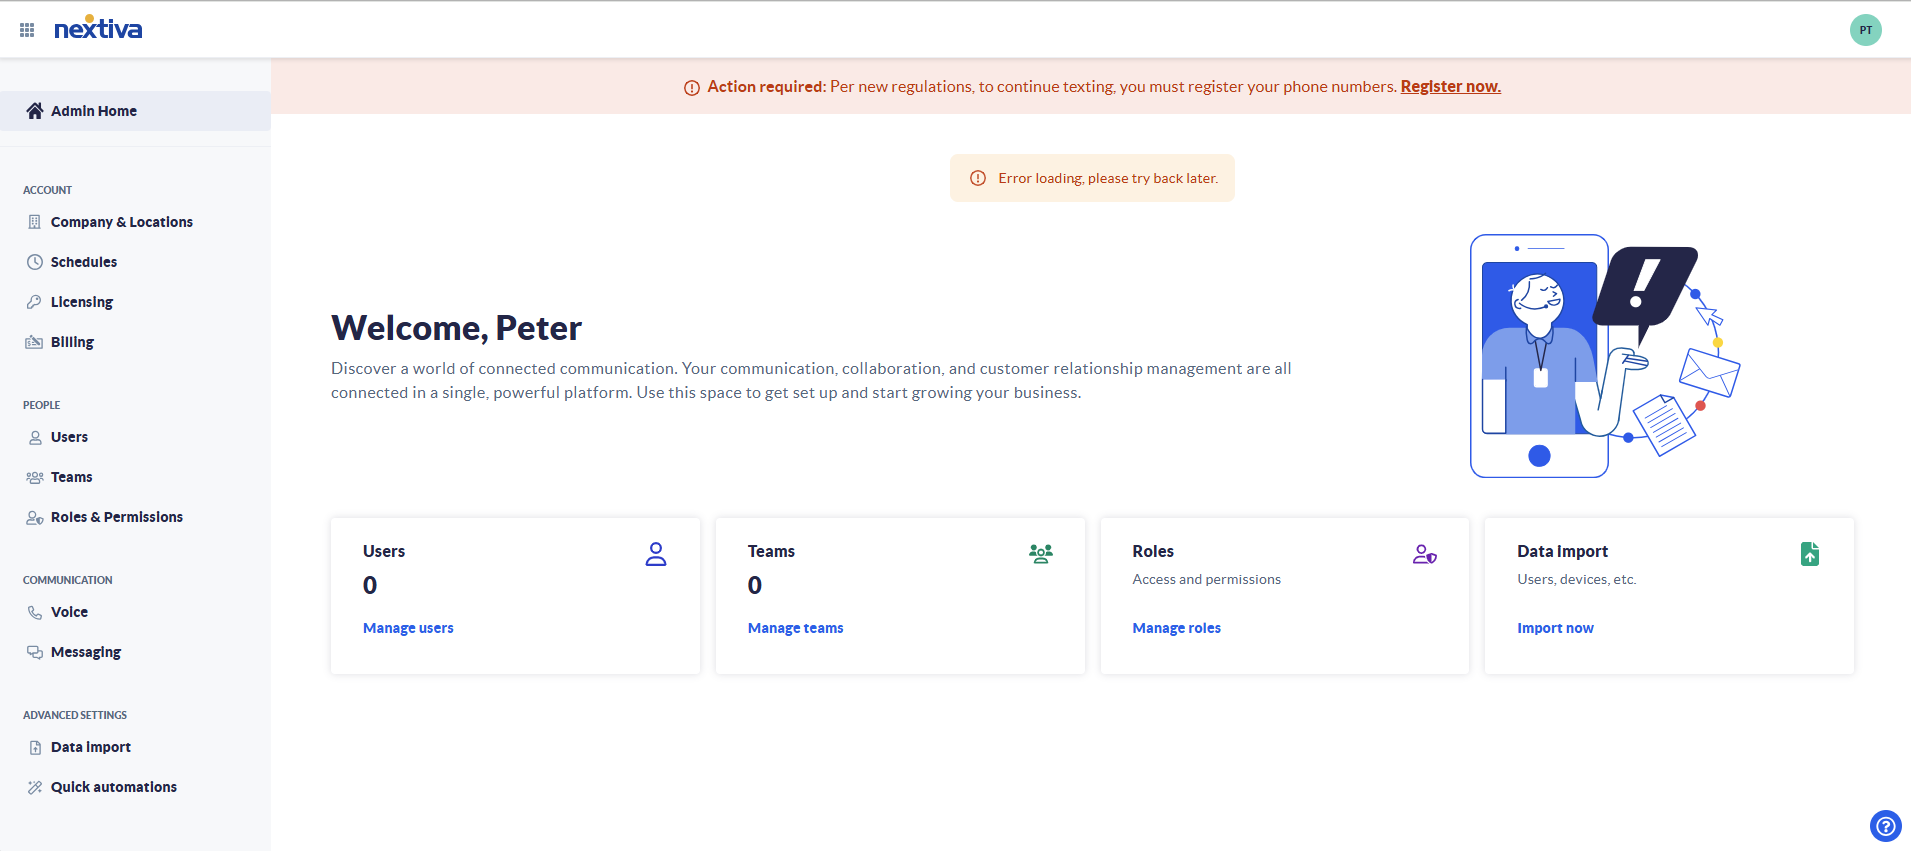
Choose the image that looks most like your screen once logged in: | |
 |
|
Build an Auto Attendant
- Log in to the NextOS 3.0 voice portal as an administrator.
- From the Nextiva Voice Admin Dashboard, hover over Advanced Routing and select Auto Attendants. The options to create or manage an Auto Attendant will display under Auto Attendants in the left panel.
- Click Create Auto Attendant and complete the Auto Attendant Profile.
- Auto Attendant Name - A name for the auto attendant
- Location - Select the location from the drop-down menu
- Regular Schedule - Schedule that defines the hours the Business Hours menu will be used.
- Holiday Schedule - Schedule that defines when the business is closed due to holidays, events in this schedule will override events in the Regular Schedule.
- Phone Number - The phone number callers outside the enterprise use to reach the auto attendant.
- Extension - Extension used to internally route calls.
- Auto Attendant Name - A name for the auto attendant
- Click Advanced Settings and complete the following fields:
- Caller ID First and Last Name: These values are displayed as the caller ID when a User receives an incoming call from the Auto Attendant.
- Extension Dialing Scope and Name Dialing Scope:
- Enterprise allows extension or name dialing to the whole company.
- Location limits the extension or name dialing to the location of the Auto Attendant.
- Department limits the extension or name dialing to the specific department.
- Enterprise allows extension or name dialing to the whole company.
- Time Zone: The time zone for this Auto Attendant.
- Department: The department for this Auto Attendant.
- Name Dialing Entries: The format callers can use to search for users.
- Transfer to the operator after X seconds of inactivity: Route callers to the operator when callers do not specify a key or option after the specified length of time. The default is 10 seconds.
- Caller ID First and Last Name: These values are displayed as the caller ID when a User receives an incoming call from the Auto Attendant.
- Click Save.
- Define the Business Hours Menu and After Hours Menu.
- Click on Business Hours Menu or After Hours Menu to expand the section.
- Assign a greeting from the dropdown menu. Greetings can be uploaded following the instructions in the article Uploading Announcements and Greetings
- A greeting can also be recorded from a phone.
- A greeting can also be recorded from a phone.
- Define Menu options:
- Key - The number a caller will press to be routed.
- Description - A description for the key. Needs to be 20 characters or less, more than 20 characters will cause an error to pop up when trying to save.
- Connect To - Routing options for the key.
- Number/Extension (prompt xfer) - Transfer to the phone number or extension in the connection data field with a message advising they are being transferred.
- Number/Extension - Transfer to the phone number or extension in the connection data field, no prompt will be given.
- Transfer to Operator - Plays prompt "Please wait while your call is transferred to the operator" and transfers the caller to the number or extension in the connection data field. Only key should use this option.
- Name Dialing - Prompts caller to dial by name.
- Extension Dialing - Prompts caller to dial by extension.
- Voicemail Box - Transfer to the voicemail box of the extension listed in the connection data field.
- Recorded Message - Play the message selected in the connection data filed.
- Repeat Menu - Repeat the menu.
- Disconnect Message - Hang up on the caller.
- Number/Extension (prompt xfer) - Transfer to the phone number or extension in the connection data field with a message advising they are being transferred.
- Connection Data - Depending on the option selected for the connect to drop-down menu this will either be a field to enter a phone number or extension, or a drop-down menu to select a greeting.
- Key - The number a caller will press to be routed.
- Click Save.
- Repeat for After Hours Menu.
- Click on Business Hours Menu or After Hours Menu to expand the section.
Still need help with this?