Call Group Setup
Article 000002174 · Updated Oct 2, 2025 · 12,034 views
| Call Groups allow for an inbound call to be distributed to multiple users. Inbound calls can ring users in a sequential order, moving to the next person if unanswered, or can ring all users at once. | |
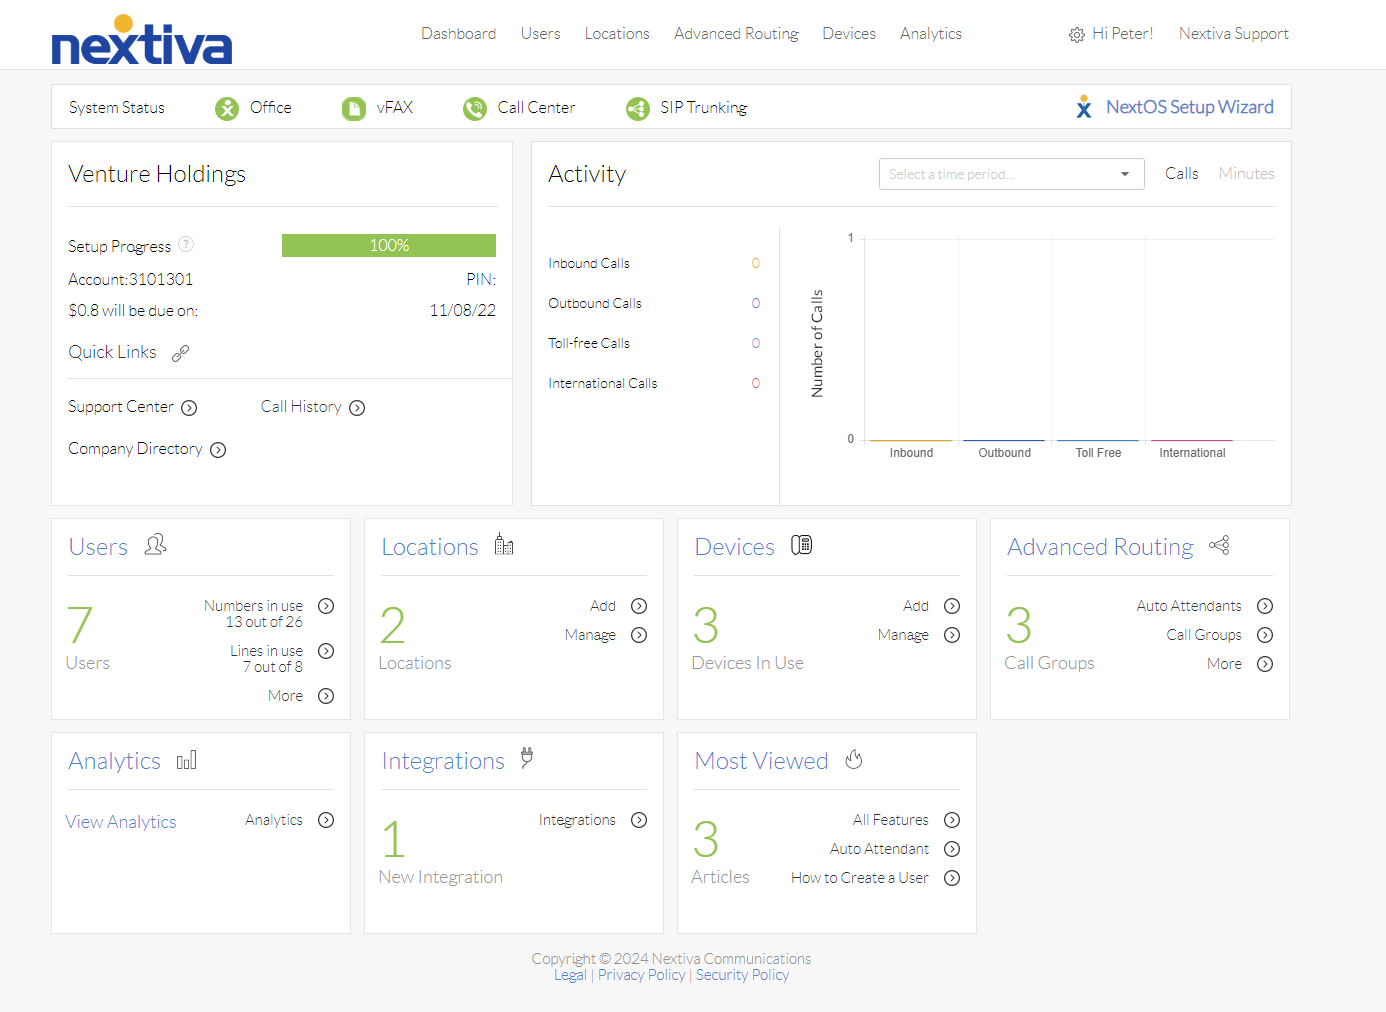
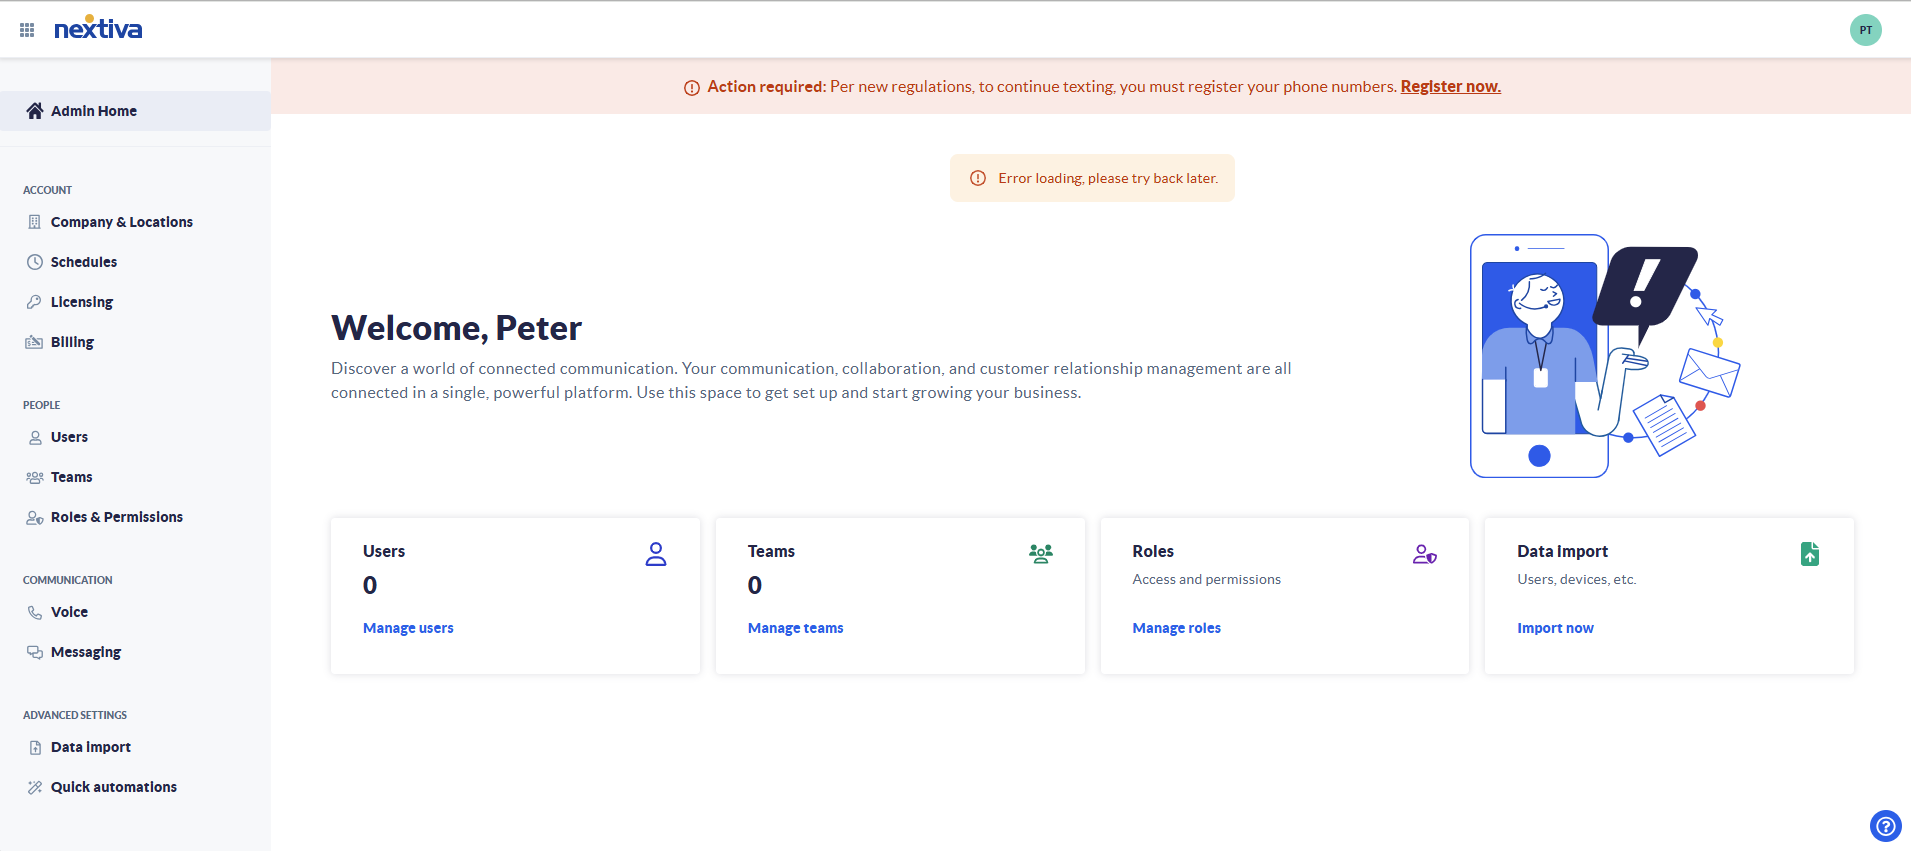
Choose the image that looks most like your screen once logged in: | |
 |  |
Setup
When setting up a call group, be aware that the maximum amount of time a call can ring without being answered is 120 seconds, approximately 60 rings. If the call is not answered, forwarded to a voicemail box, or forwarded to an auto attendant before this time limit, the call will be dropped.
- Log in to the portal as an administrator.
- Hover over Advanced Routing at the top of the page and click Call Groups.
- Click Create Call Groups on the left-hand side of the page.
- Enter your information in the fields on the Call group profile screen, as indicated below:
- Call group name: a descriptive name for the call group.
- Location: the location that this call group belongs to.
- Caller ID first and Caller ID last: the caller ID that will show on the users’ phones when a call comes in through the call group. This is in addition to the caller ID of the originating party. This is commonly used to let the user know what number was dialed, or what option was selected from the auto attendant. Typical examples include a Support Call or a Sales Call.
- Phone number: the phone number that rings directly to this call group. This is optional.
- Extension: the extension number of the call group. This is required.
- Call distribution policy: This is the ring pattern the call group will follow.. Options include:
- Circular - one at a time with a looping order, when the user at the top of the list takes a call he’s moved to the bottom; A-B-C-D, then B-C-D-A, then C-D-A-B, etc.
- Regular - most common; rings one phone at a time in a set order; A-B-C, A-B-C
- Simultaneous - rings every phone in the call group at the same time.
- Uniform - whoever has been idle the longest.
- Weighted - specifies a percentage for each user; allows your strongest employees to take the most calls. The weight is configured by Nextiva Support.
- Circular - one at a time with a looping order, when the user at the top of the list takes a call he’s moved to the bottom; A-B-C-D, then B-C-D-A, then C-D-A-B, etc.
- Call group name: a descriptive name for the call group.
- Select which users will be a part of this call group by clicking the plus sign next to their name below Available users. Alternatively, the plus sign next to the All option adds all users to this call group. After doing so, the users will appear in the Selected Users box to the right.
- Click the Advanced Settings link toward the bottom of the screen to show the advanced settings
- Select one or more Busy options from the drop-down list
- Allow call waiting: allows the users in the call group to take more than one call at a time through the call group. This does not affect their ability to take a second call if the user’s direct number is dialed.
- Allow members to control group busy: allows the users in the call group to use feature access codes to turn call forwarding on or off for the call group using #51 to activate, and #52 to deactivate. This is typically setup in conjunction with Call forward busy to control where the call is forwarded to.
- Enable group busy: turns call forwarding on or off for the call group, rather than using #51 and #52 (discussed above).
- Apply group busy when call ends: makes the hunt group busy whenever a call ends.
- Allow call waiting: allows the users in the call group to take more than one call at a time through the call group. This does not affect their ability to take a second call if the user’s direct number is dialed.
- Fill in the rest of the optional fields as indicated below
- Department: the department that the call group is assigned to. Departments are used to organize an account. Examples include Accounting, Sales, Support, etc.
- Skip to next agent after __ rings: controls how long a user has to pick up the phone before the call routes to another user. This setting only applies if simultaneous ring is not in use, and there is more than one user in the call group. We suggest keeping this number to 6 or fewer rings.
- Forward call after _ seconds, and forward to: controls the total time the call rings through the call group. This is typically used to send calls to voicemail after a certain number of seconds (one ring is approximately 5 seconds), but can also be used to forward calls to an auto attendant or an external number.
- Enable call forwarding not reachable, and forward to: forwards calls to voicemail, an auto attendant, or an external number in the event that the phones in the call group are offline (not registered). This only applies if ALL phones in the call group are offline.
- Make call group busy when all available agents are not reachable: Send the call to the call group voicemail box in the event that the phones in the call group are offline (not registered). By default, this will go to the call group voicemail box, but this can be changed by using the Call forwarding busy
- Department: the department that the call group is assigned to. Departments are used to organize an account. Examples include Accounting, Sales, Support, etc.
- To prevent the caller ID from being modified when calls route through the call group, select the User’s caller ID radio button at the bottom of the screen, and uncheck the Include call group in caller ID check box
- Click the green Save button at the bottom of the screen. A pop-up message will appear confirming that the new call group has been created.
Still need help with this?