Creating Users and Assigning Licenses
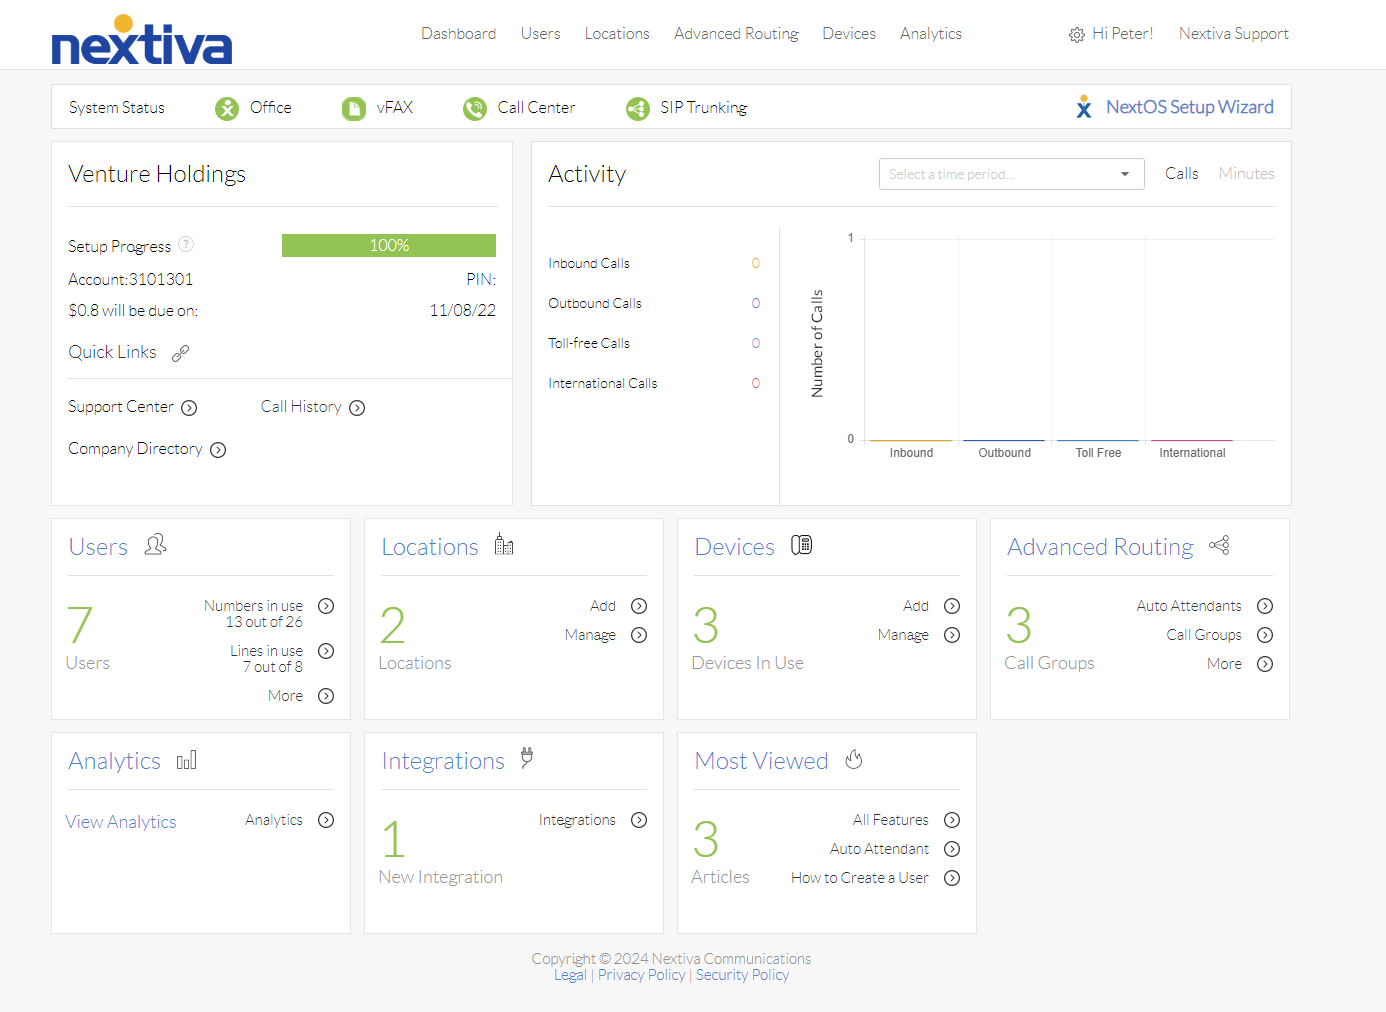
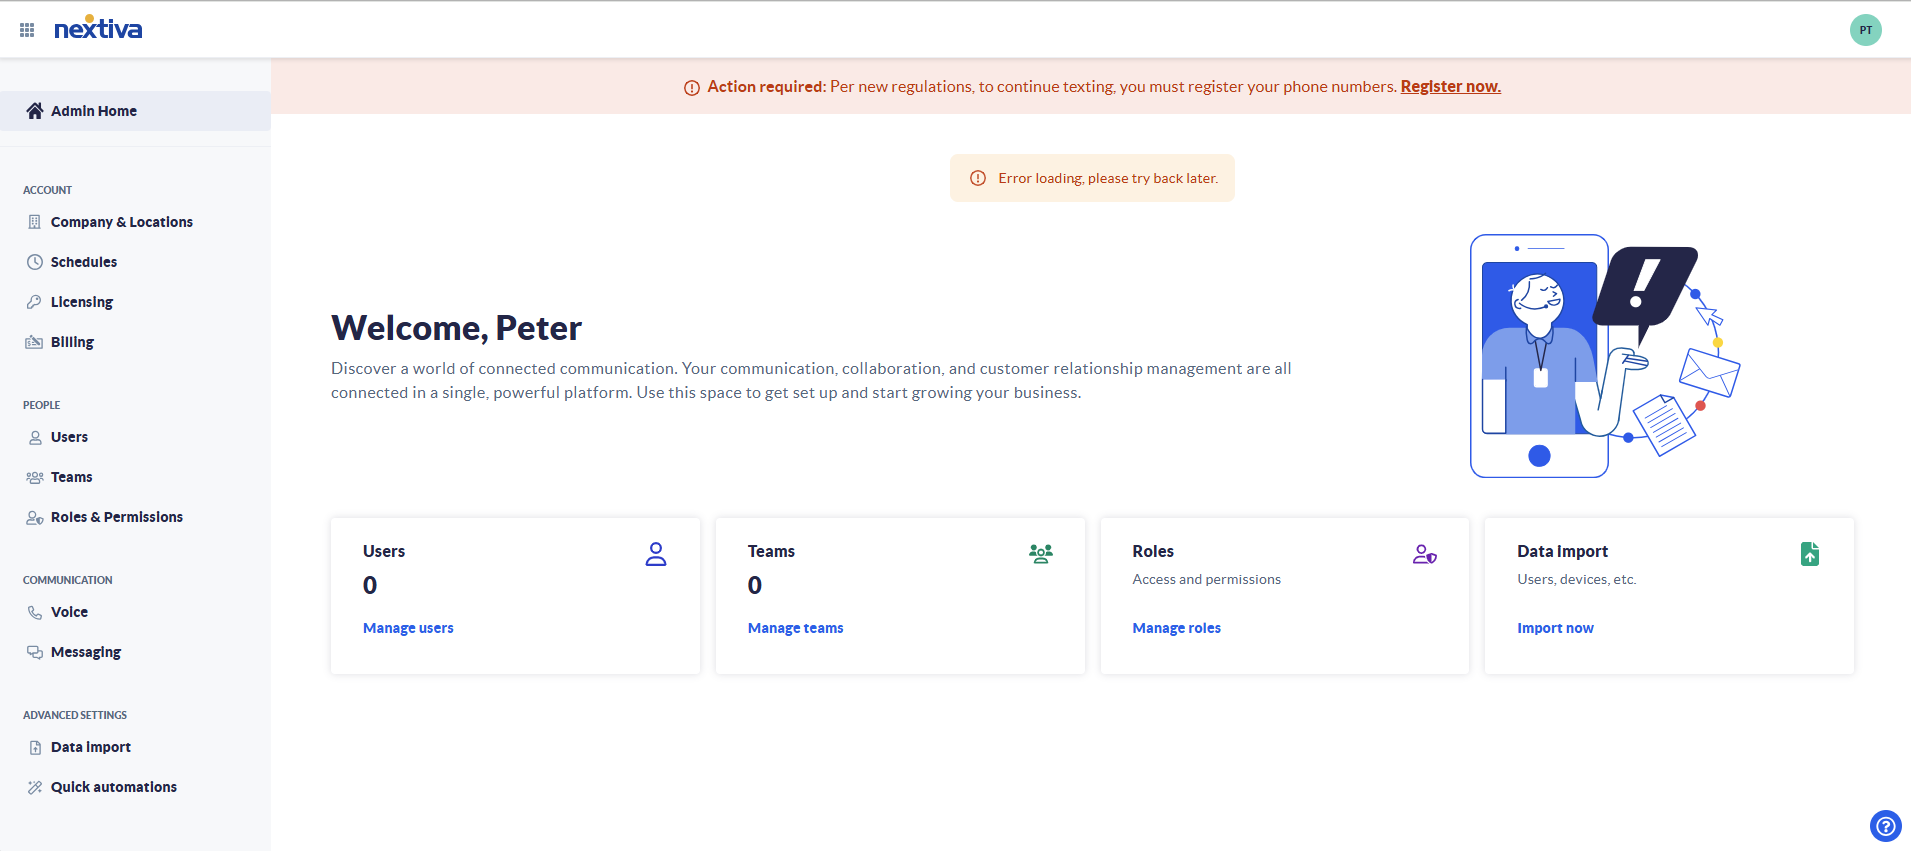
Choose the image that looks most like your screen once logged in: | |
 |
|
User Setup
Users are able to make and receive phone calls, while administrators can manage account settings. The very first user created on any account is also an administrator; every user created after this will be either a voice user or an account administrator.
Create a User
Users are created with basic voice services; as such, you cannot create more users than you have lines of service with Nextiva. To use any advanced features, a license will need to be assigned to the user.
Please be aware that the first time you create a user, the email address will become the Login ID in the security information field on the user. The Login ID cannot be changed without deleting and re-creating the user.
- Log in to the voice portal as an administrator.
- Hover over Users at the top of the page and click Add Users.
- Fill out the user profile
- First Name: First name of the User.
- Last Name: Last name of the User.
- Username: Desired login name for the User. This must be unique across all of Nextiva, and can only contain the following characters:
- Lowercase letters
- Numbers
- Periods (.)
- Hyphens (-)
- Colons (:)
- Square brackets ([ and ])
- Lowercase letters
- Email: Email address for the User. This will become the Login ID under the security information field after the user has been created.
NOTE: Once the user is created, the Login ID cannot be changed as it links several related services together. In order to change the Login ID, the user will need to be deleted and recreated.
- Email Voicemails: Check this box to send an audio file copy of voicemails to the email specified above.
- Phone Number: Optional. The User’s direct phone number (if applicable).
- Extension: Extension number for the User.
- Primary number unreachable: Optional. Phone number to forward incoming calls to in case the User’s phone is offline.
- Package: Select a base license to assign to the user when it is created; upgrades can be added later.
- Location: Specific location the User works in.
- Time Zone: Time zone for the User.
- Authorized User: Check this box to make the user an Authorized User. After doing so, a PIN number will need to be created. Authorized Users are Users who can call into Nextiva support to request information about the account, and can also request changes to the account.
- Send a welcome email with login credentials to the user: Send a welcome email to the user with their login credentials.
- First Name: First name of the User.
- Click Save & Continue.
- If a primary phone number is assigned, the page will automatically open the E911 Address section, which is pre-filled out by the Location information selected. Confirm that the User will be physically located at the location specified should they call 911 from their device. Select Save & Continue toward the bottom-right of the page.
- The page will automatically open the Device section. If you are ready to assign a device, select the Yes radio button. Select a device previously added to the account, or add a new device to the account if one is available. If not adding a device, select the No radio button.
- Finally, you can upload a Greeting if desired. If no greeting is uploaded, the default greeting will play.
- Click Continue.
- If the user needs additional services assigned, please see assigning a license.
Logging in as a user
An administrator can log into a user's portal and access the same view the user has, including launching web applications.
- Log in to the voice portal as an administrator.
- Hover over Users at the top of the page and click on Manage Users.
- Click on the user to log in as.
- Click the blue Log In As User in the upper right-hand corner of the user page.
- When finished, click Return to Admin to go back to the portal.
Assigning a License to a User
- From the main dashboard, hover the cursor over the account manager’s name in the upper-right corner, and select My Account from the menu that appears (Figure 1-1).
- Click Licensing on the left side of the screen (Figure 1-2).
- Click the Assign link to the right of the package (Figure 1-3) you would like to assign to a user.
- Check the boxes of the user(s) to assign the license to. You cannot mark more users than licenses available.
- Click the green Save button at the bottom right of the screen to assign the service to the specified user.
Remove a License
If a user no longer needs a particular license, you can remove it from the user. The license would then be available to assign to another user.
Be aware that removing ALL call center licenses from users on a location will cause all call centers built on that location to be deleted.
- From the main dashboard, hover the cursor over the account manager’s name in the upper-right corner, and select My Account from the menu that appears (Figure 1-1).
- Click Licensing on the left side of the screen (Figure 1-2).
- Click Manage on the left-hand side of the screen under Licensing.
- Click the green checkmark next to the license to remove it from the user.
- In the confirmation window that appears, click Delete assignment.
- The license will be removed from the user.