SMS/MMS Setup
Article 000002132 · Updated Jun 15, 2026 · 12,765 views
| In order for texting to be enabled, the phone number needs to be registered for business messaging, click here for instructions on how to register a phone number for texting. | |
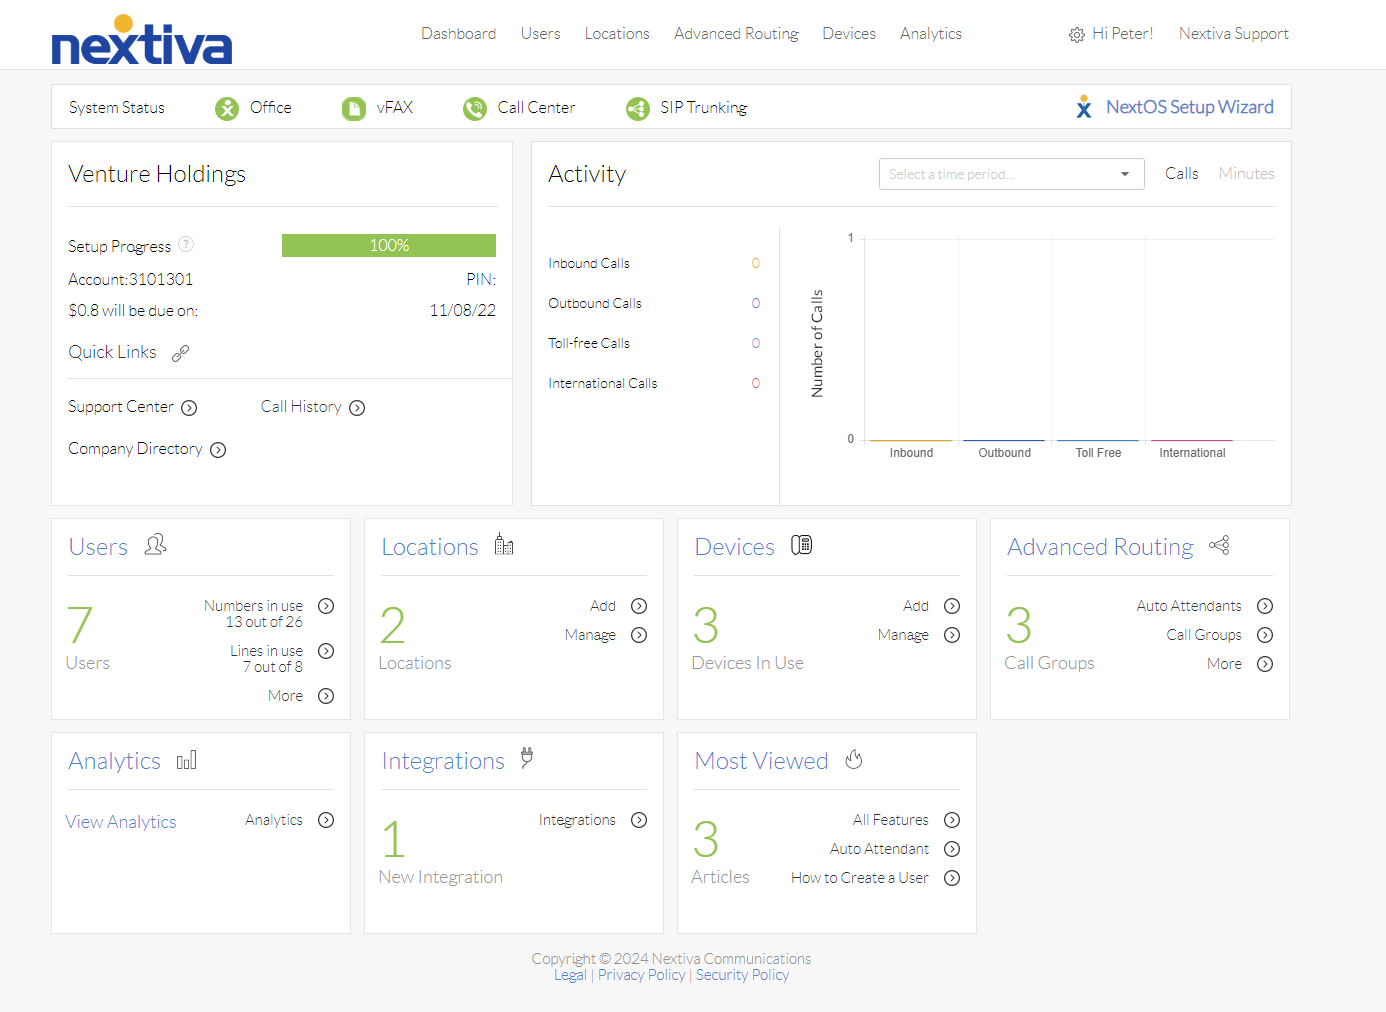
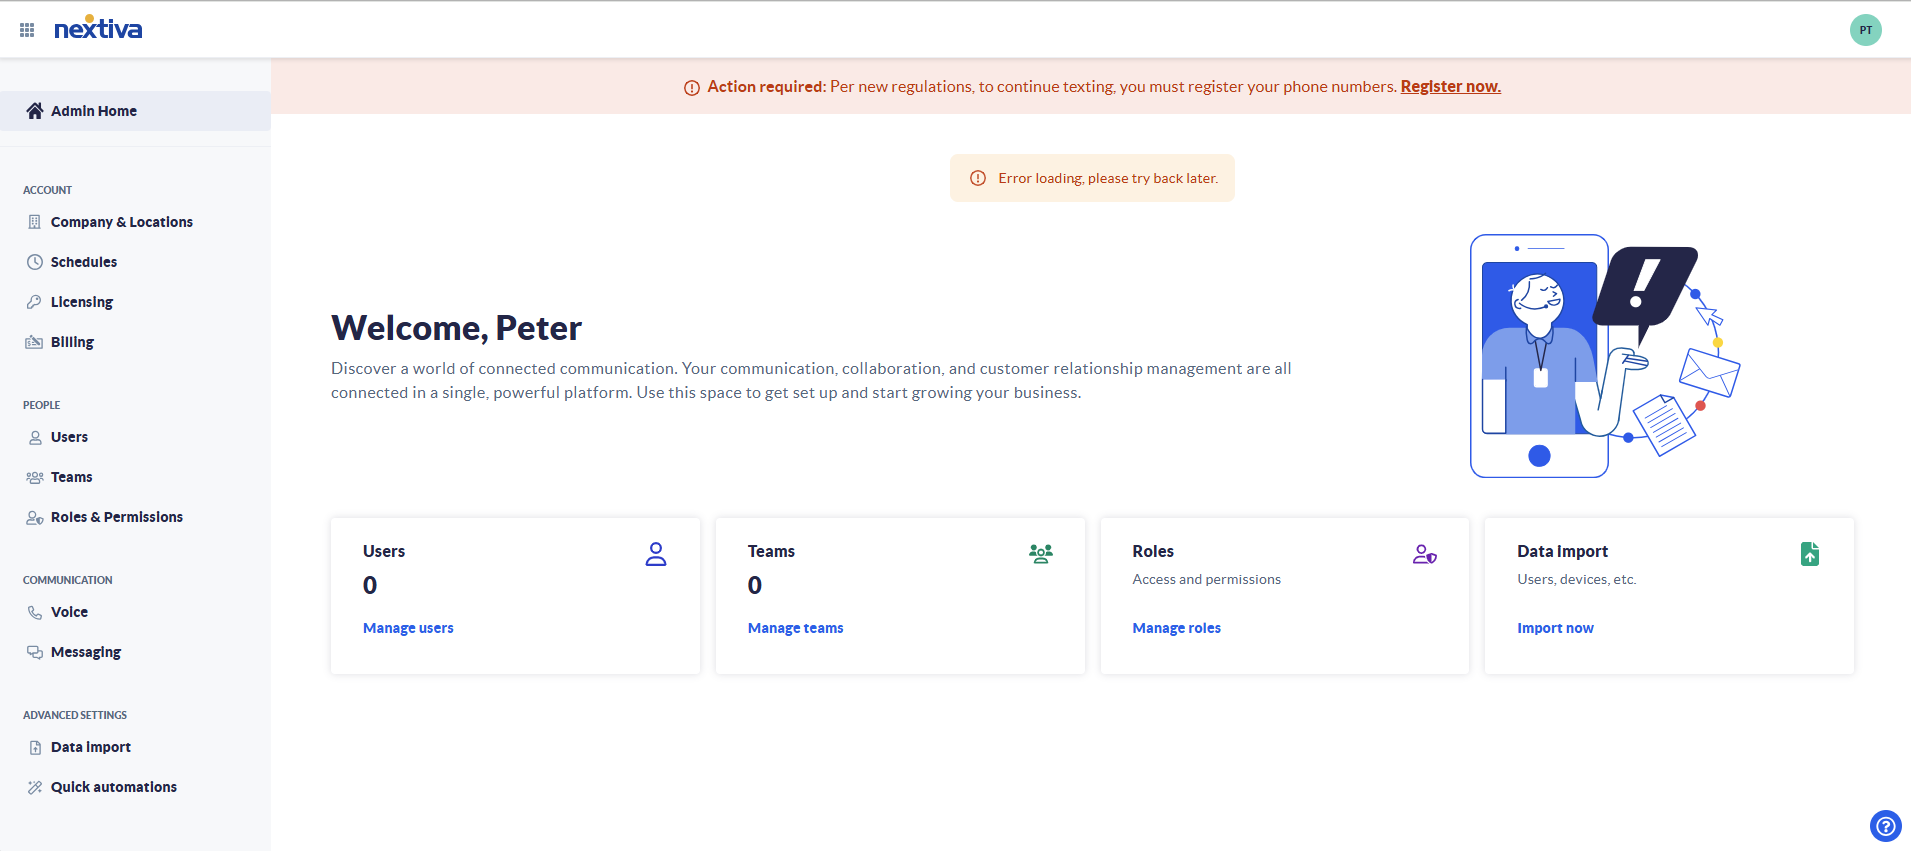
Choose the image that looks most like your screen once logged in: | |
 |  |
Setup
For frequently asked questions about texting, including limits to the number of messages sent and received each month, please see the SMS/MMS FAQ page.
Texting can be enabled on any number; however, the number has to be assigned to a user to send and receive text messages.
- From the main admin page, click Voice on the left-hand side and select the Numbers tab to be taken to the page showing all available numbers for the account.
- Click on the Actions dropdown and select Enable SMS to enable texting for that number. Currently bulk-enabling is not available and SMS enabling will have to be done per number.
NOTE: Fax and Toll-Free numbers do NOT support texting.
- Once the number is enabled, the SMS icon will turn blue, indicating that the number has been SMS/MMS enabled.
- Ensure that the number is assigned to a user. The user will have to have completed their voice setup for texting to work.
- If the user was logged into NextivaONE on the desktop and/or mobile versions, have them log out and log in again.
NOTE: It can take up to two hours for the service to fully provision for the user.
- The user can then start using their assigned phone number both for making calls and texting.
Still need help with this?