Import Users and Devices
Article 000002186 · Updated Jun 19, 2025 · 5,950 views
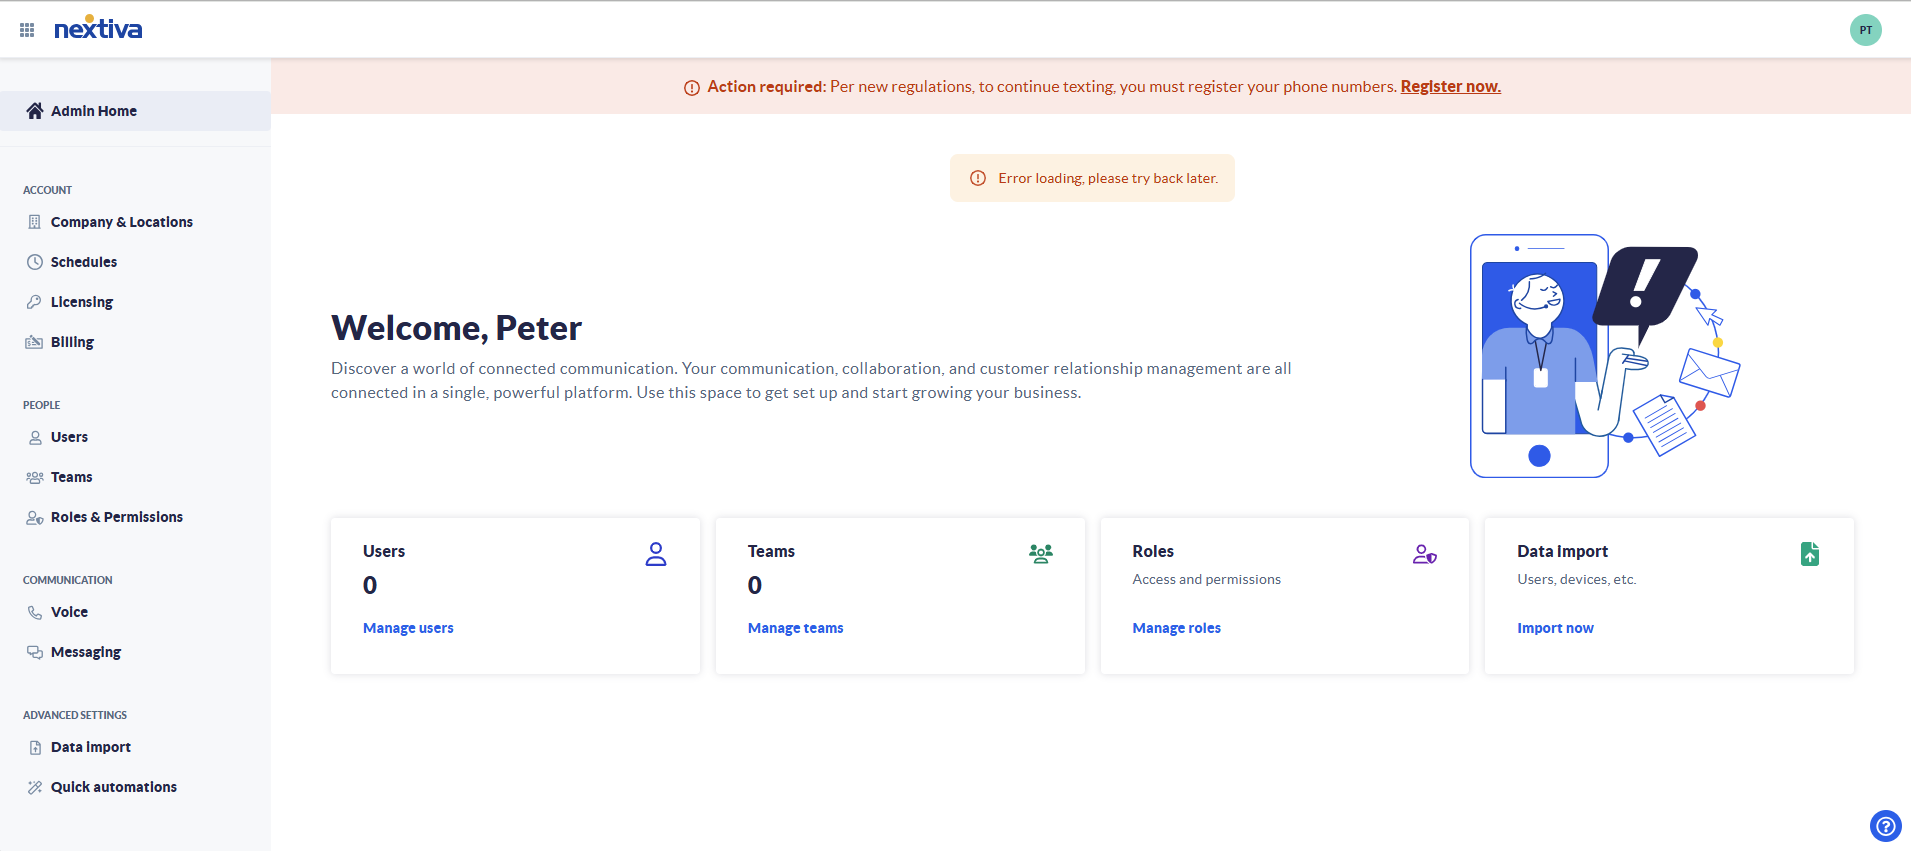
Choose the image that looks most like your screen once logged in: | |
 |
Bulk Importing
Steps to Import Users
- Log into the voice portal as an administrator
- Click Users.
- Click the drop-down arrow next to Add User.
- Click Bulk add new users.
- Download the template file and fill it out. (We recommend downloading the template each time, as it may be updated.)
Tips for filling out the templateWhen you fill out the template, please keep in mind that it doesn't track the number of available licenses on your account. You will need to ensure you do not assign more licenses than are available.
Current Fields in the Template File:
- First Name: The first name of the user to import.
- Last Name: The last name of the user to import.
- Email Address: The user's email address. This field is also their login and must be unique on this account.
- Enable Voice: Select "Yes" if the user is going to use voice service.
- Role Name: Choose the role to assign to the user.
- Location: Select the location the user will be at.
- Extension: Enter the user's voice extension.
- Phone Number: (Optional) Select an available phone number from the drop-down menu.
- Additional Number: (Optional) Select a second phone number from the drop-down menu.
- Additional Extension: (Optional) Enter an additional extension to use to route internal calls.
- Additional Number Ringtone: (Optional) Select a different ring pattern for the additional number or extension assigned to the user.
- Voicemail Enabled: Select if the user needs their voicemail enabled. If disabled inbound calls will ring until the call drops.
- Voicemail to Email Enabled: Enter an alternate email address to email voicemail audio files to, if left blank, the user's email address will be used.
- Device Make/Model: (Optional) Select the device model from the drop-down list.
- MAC Address: (Optional) Enter the MAC address of the device the user will use.
- License Name: (Optional) Select the license to assign to the user. Without a license, voice features cannot be enabled.
- Send Welcome Email: Choose if the user will receive a welcome email with steps to log in the first time.
- Upload the completed template file by dragging and dropping the file into the browser.
- Click Start Import on the bottom right-hand side of the window.
- If any errors are found, a message will appear in the middle of the screen. You can download and review the error file.
- If the data was successfully validated, you will be taken to a progress screen. Once the processing status shows Completed the users are built.
Steps to Import Devices
- Log into the voice portal as an administrator
- From the main admin page, select Voice on the left-hand side.
- Select the Phones and Devices tab.
- Click the drop-down arrow next to the Add device button and select Bulk Import.
- Click Download new devices template to get the latest version. (Always download the latest template to ensure accuracy.)
- After filling out the template file, drag and drop the file into the grey rectangle to upload it.
- Click Start Import on the bottom right-hand side of the window.
- If any errors are found, a message will appear in the middle of the screen. You can download and review the error file.
- If the data was successfully validated, you will be taken to a progress screen. Once the processing status shows Completed the devices have been imported.
Still need help with this?