Selective Call Rejection
Article 000001056 · Updated Dec 1, 2025 · 11,188 views
|
Selective call rejection allows calls to be blocked at the user level based on specific criteria. This feature only stops direct calls from reaching a user and does not prevent calls from ringing through a call center, teams, or call groups.
| |
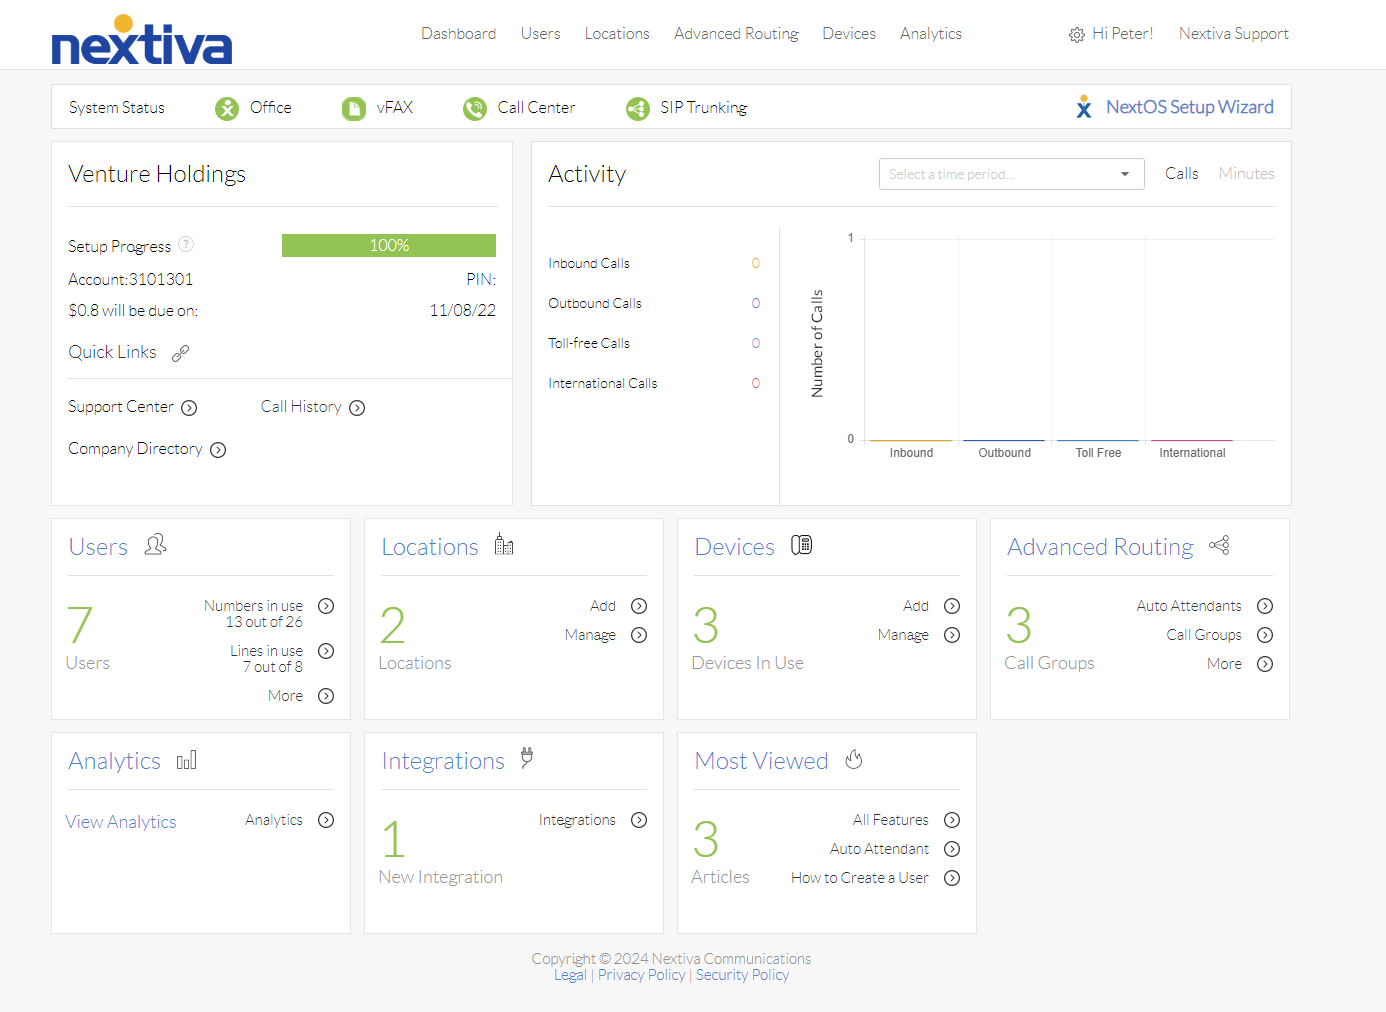
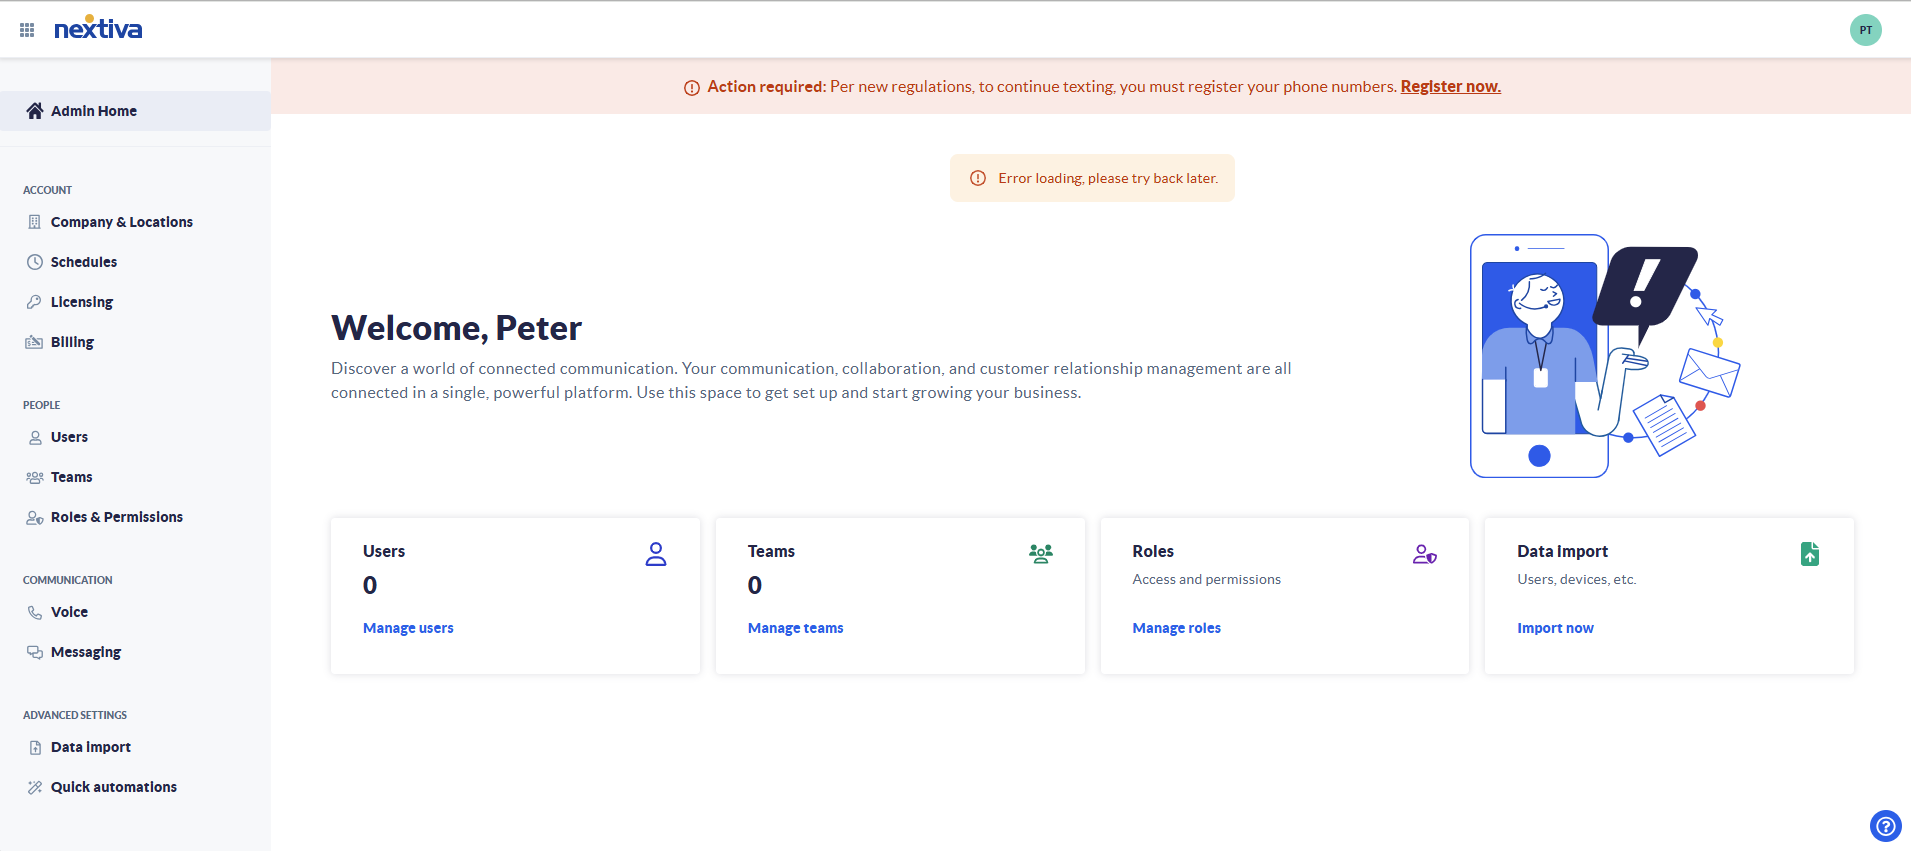
Choose the image that looks most like your screen once logged in: | |
 |  |
Setup
- Log in to your account as an administrator.
- Click Users on the left-hand side of the page.
- Search for the user you wish to apply the rule to, click the vertical ellipses on the right-hand side, and choose Voice Settings.
- Select Call Routing on the left side under Advanced Settings.
- Scroll down and expand the Selective call rejection section.
- Click the Add Condition button.
- Enter a Description for the rule.
- To reject calls, make sure the check box for Don't reject calls when the following conditions are met is unchecked.
- Choose a schedule.
NOTE: Unless you only want to block calls during a specific time period, Every Day All Day should be the schedule used.
- Choose the type of rejection
- Any Phone Number - Block all calls coming in
- Forwarded - Block forwarded calls
- From Specific phone numbers - Set a custom list of numbers to block
- Any Private Number - Block private numbers from calling in
- Any Unavailable Number - Block unavailable numbers from calling in
- Enter a specific number and click Add Phone Number. You can add up to 12 numbers per rule.
- Any Private Number - Block private numbers from calling in
- Any Phone Number - Block all calls coming in
- Click Add to save the rule.
Still need help with this?