Sequential Ring
Article 000002168 · Updated Jul 16, 2025 · 4,798 views
| Sequential ring allows a user's line to ring multiple phone numbers or extensions in sequence. When used, callers will hear a prompt advising them to wait as the party they are calling is being located. A reminder that the party is being located will be played every 3 rings. These notice messages cannot be turned off. This feature only applies to direct calls to the user and does not work with calls from call groups or call centers. | |
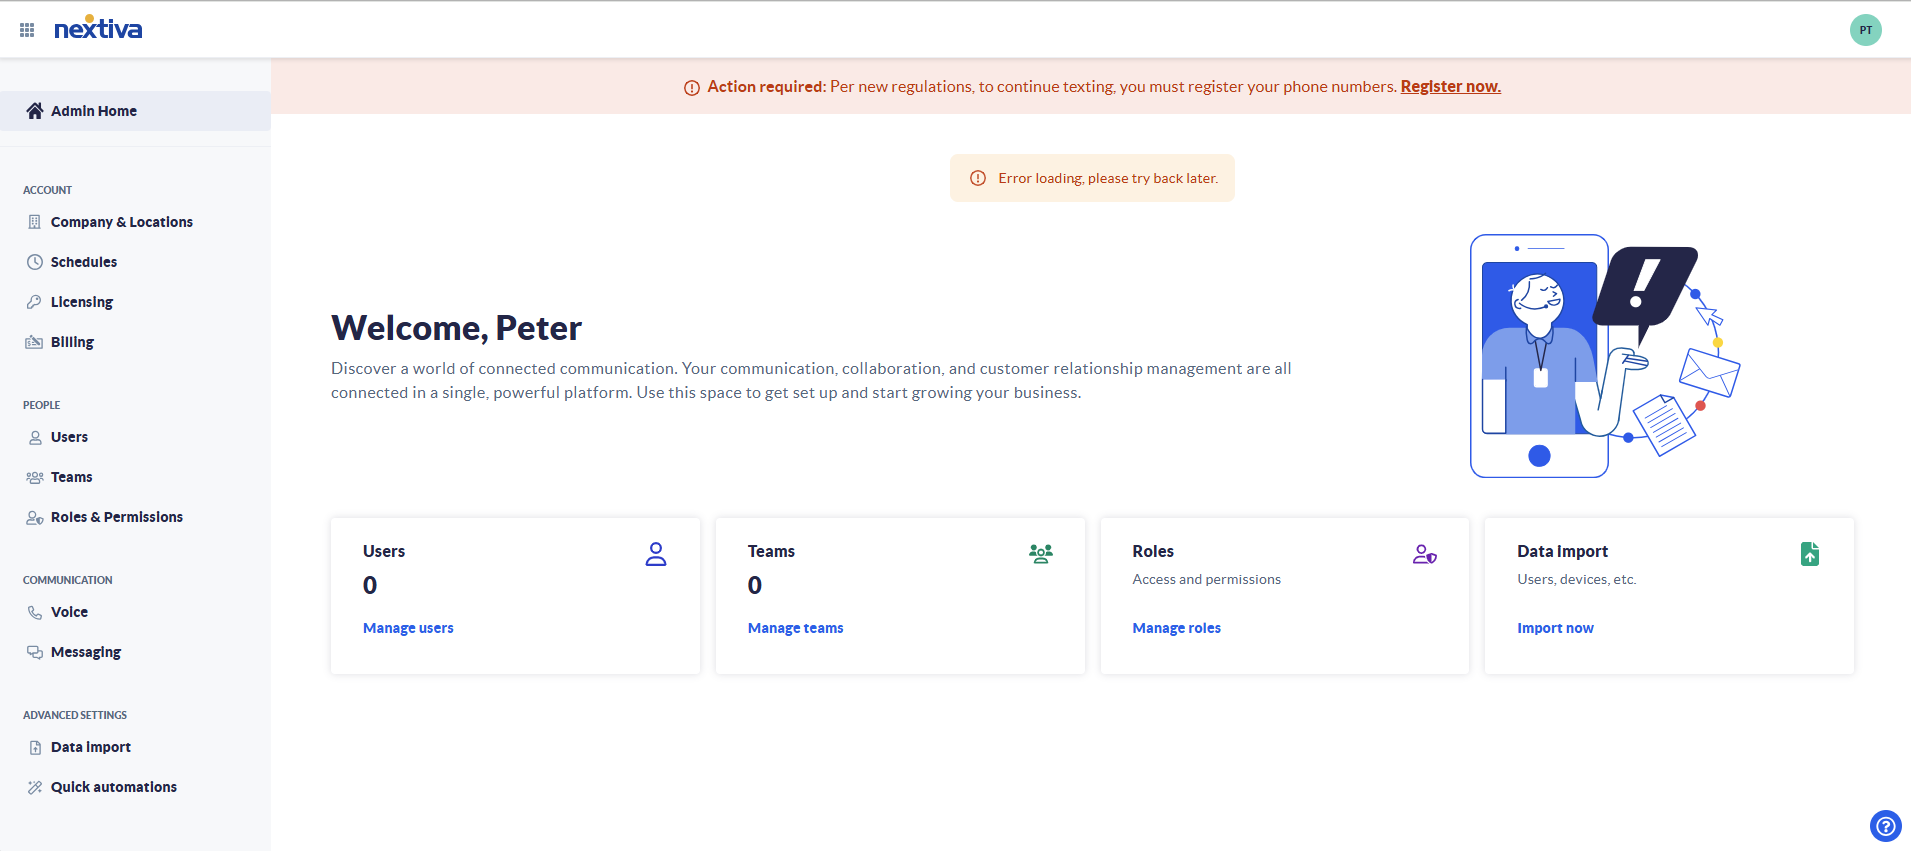
Choose the image that looks most like your screen once logged in: | |
 |
Setup
- Login to the voice portal as an administrator.
- From the main page, click on the Users button.
- Hover over the user to adjust and click on Actions then select Voice Settings from the dropdown menu.
- Select Mobility under the advanced voice settings
- Click on Sequential Ring to expand the section.
- Adjust feature settings:
- Ring my main phone first for ___ rings - Before trying other phones, first ring the user's Nextiva phone.
- Continue ringing sequence if main number is busy - If the main line is in use this feature will allow it to continue following sequential ring instead of going to voicemail.
- Enable caller to skip the sequence, assuming forwarding or voicemail is enabled - Give callers a prompt to go to voicemail rather than trying to ring multiple phones.
- Ring my main phone first for ___ rings - Before trying other phones, first ring the user's Nextiva phone.
- Add up to 5 phone numbers:
- Click Add Number.
- Enter an internal extension or a 10-digit phone number
- Choose the number rings before trying the next number by using the dropdown menu.
- To avoid an automated system such as voicemail answering the call check the Answer Confirmation box. This will require the party answering the phone to press a key to accept the call.
- Click Save.
- Click Add Number.
- Click Add Condition to control when sequential ring is used.
- Enter a description for the condition.
- If this is defining when to not use sequential ring check the box Do not use sequential ring.
- Choose a schedule for the condition.
- Select if this condition applies to all callers or specific phone numbers. If choosing specific phone numbers up to 12 numbers can be added in a single condition.
- Click Add.
- Enter a description for the condition.
- Click the On/Off switch to enable sequential ring.
Still need help with this?